Creating your own DIY wedding program fans is a great way to keep your guests cool on a warm summer day and also give them the details of your wedding. This is an easy DIY project especially when you use Templett to edit the wedding program template!
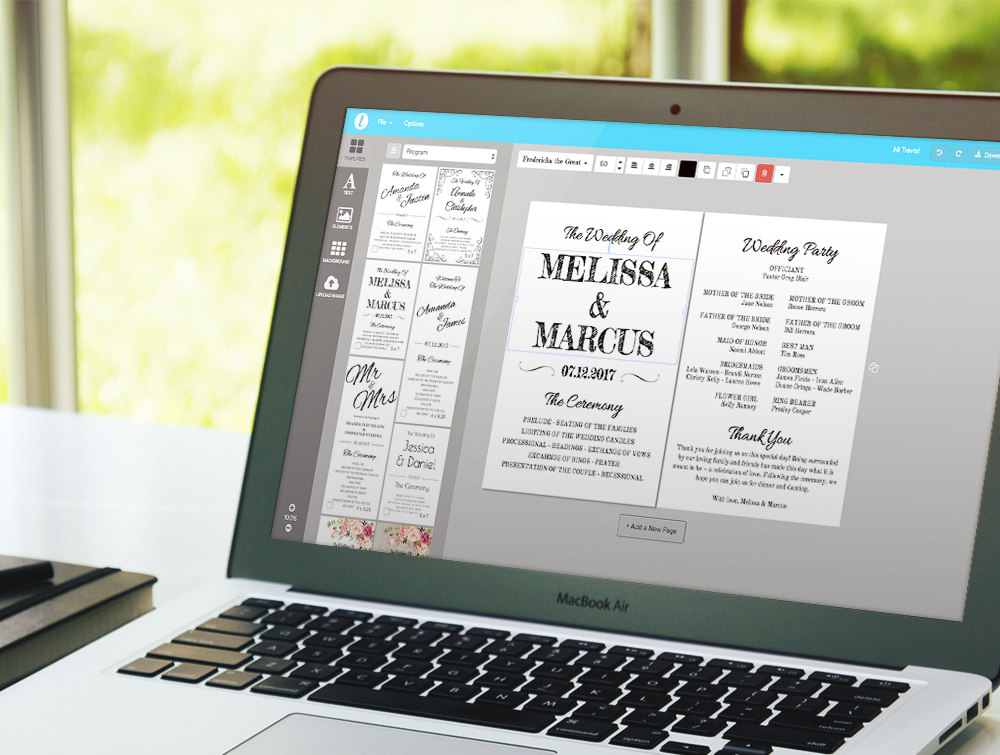
Step: 1) Edit your program template using the Templett design application
Purchase your template and customize it using our design application. In this example, we’ll be using a rustic program fan template from Printable Moment. You can view and purchase this template here.
Step: 2) Download the PDF and Print it with crop marks
Download your template as a PDF file and print it with the crop marks option checked. We recommend heavy card stock at least 65lb weight. In this example, we are using Kraft paper purchased from Staples® to give it more rustic look.
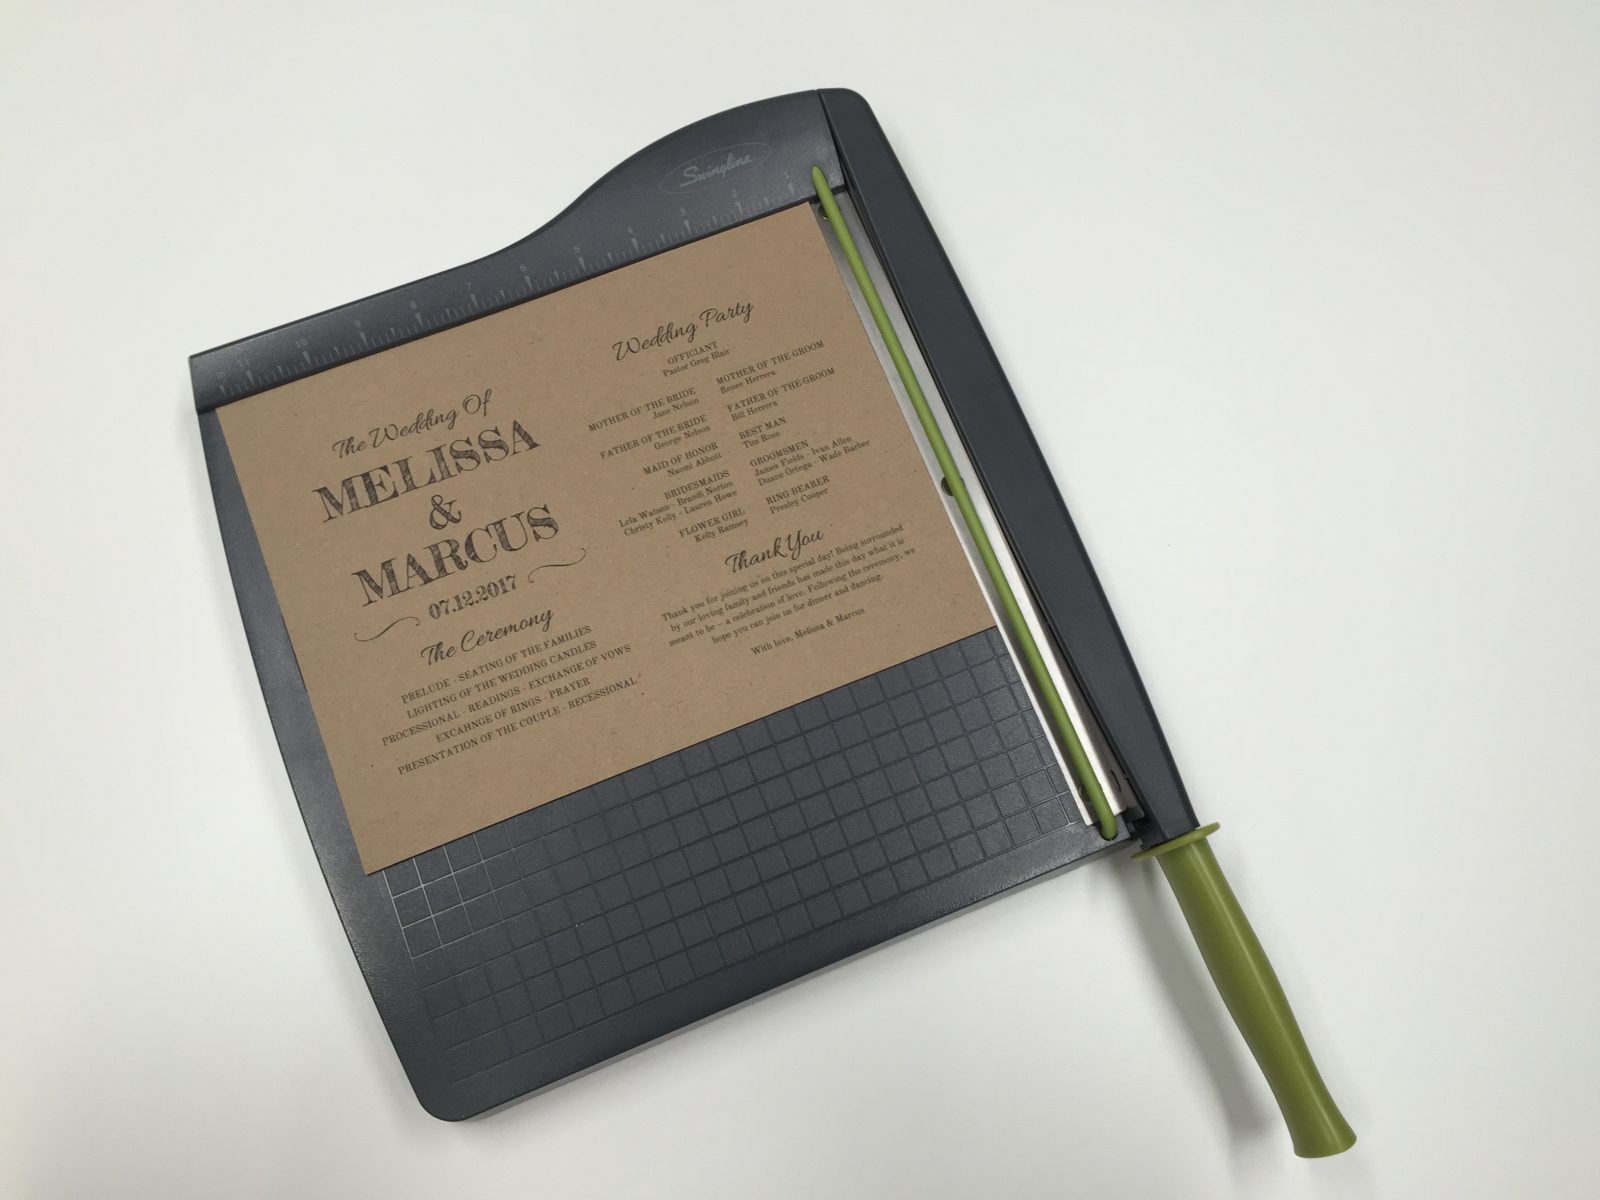
Step: 3) Fold and cut alone the trim lines
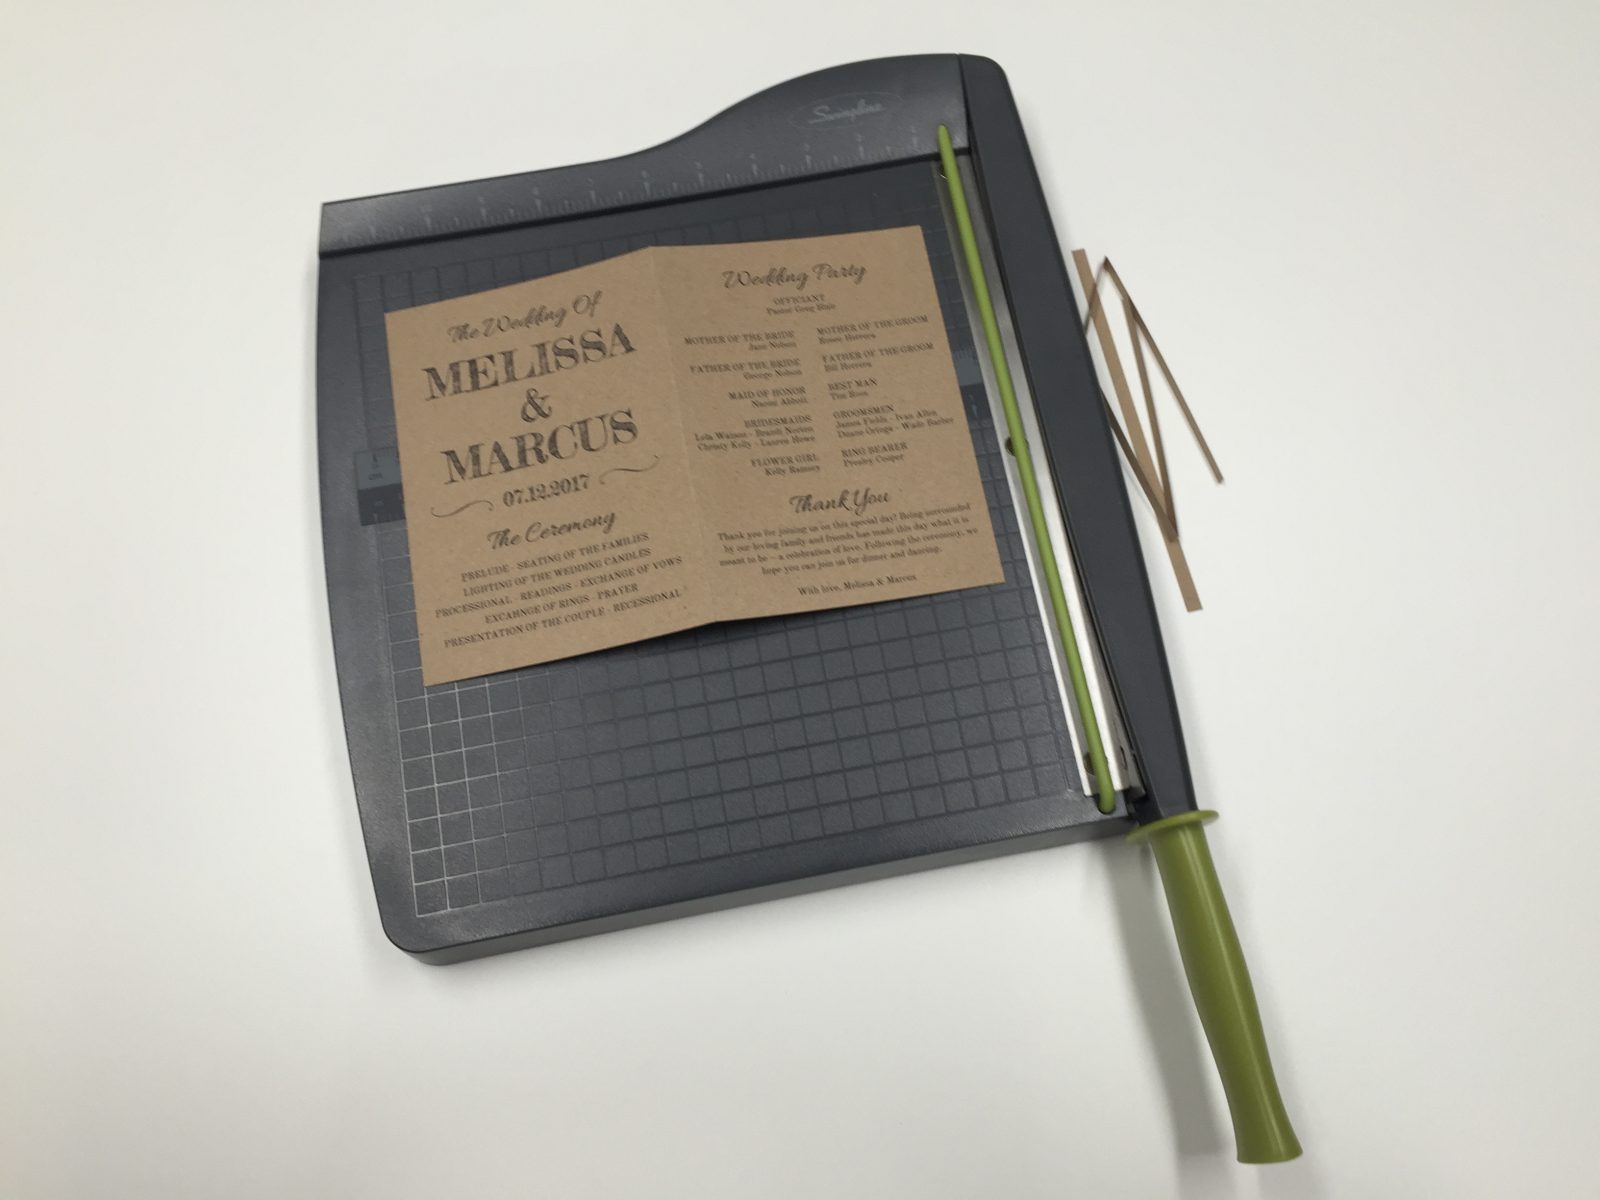
It’s best to fold your template in half using the center crop marks before you trim the entire template. This way you have an exact mark showing you the fold line. Once you make a nice crease, trim the template along the crop marks. Use a paper cutter for the quickest and best results.
Trimming the template while folded helps give precise cuts and the cleanest finished product.
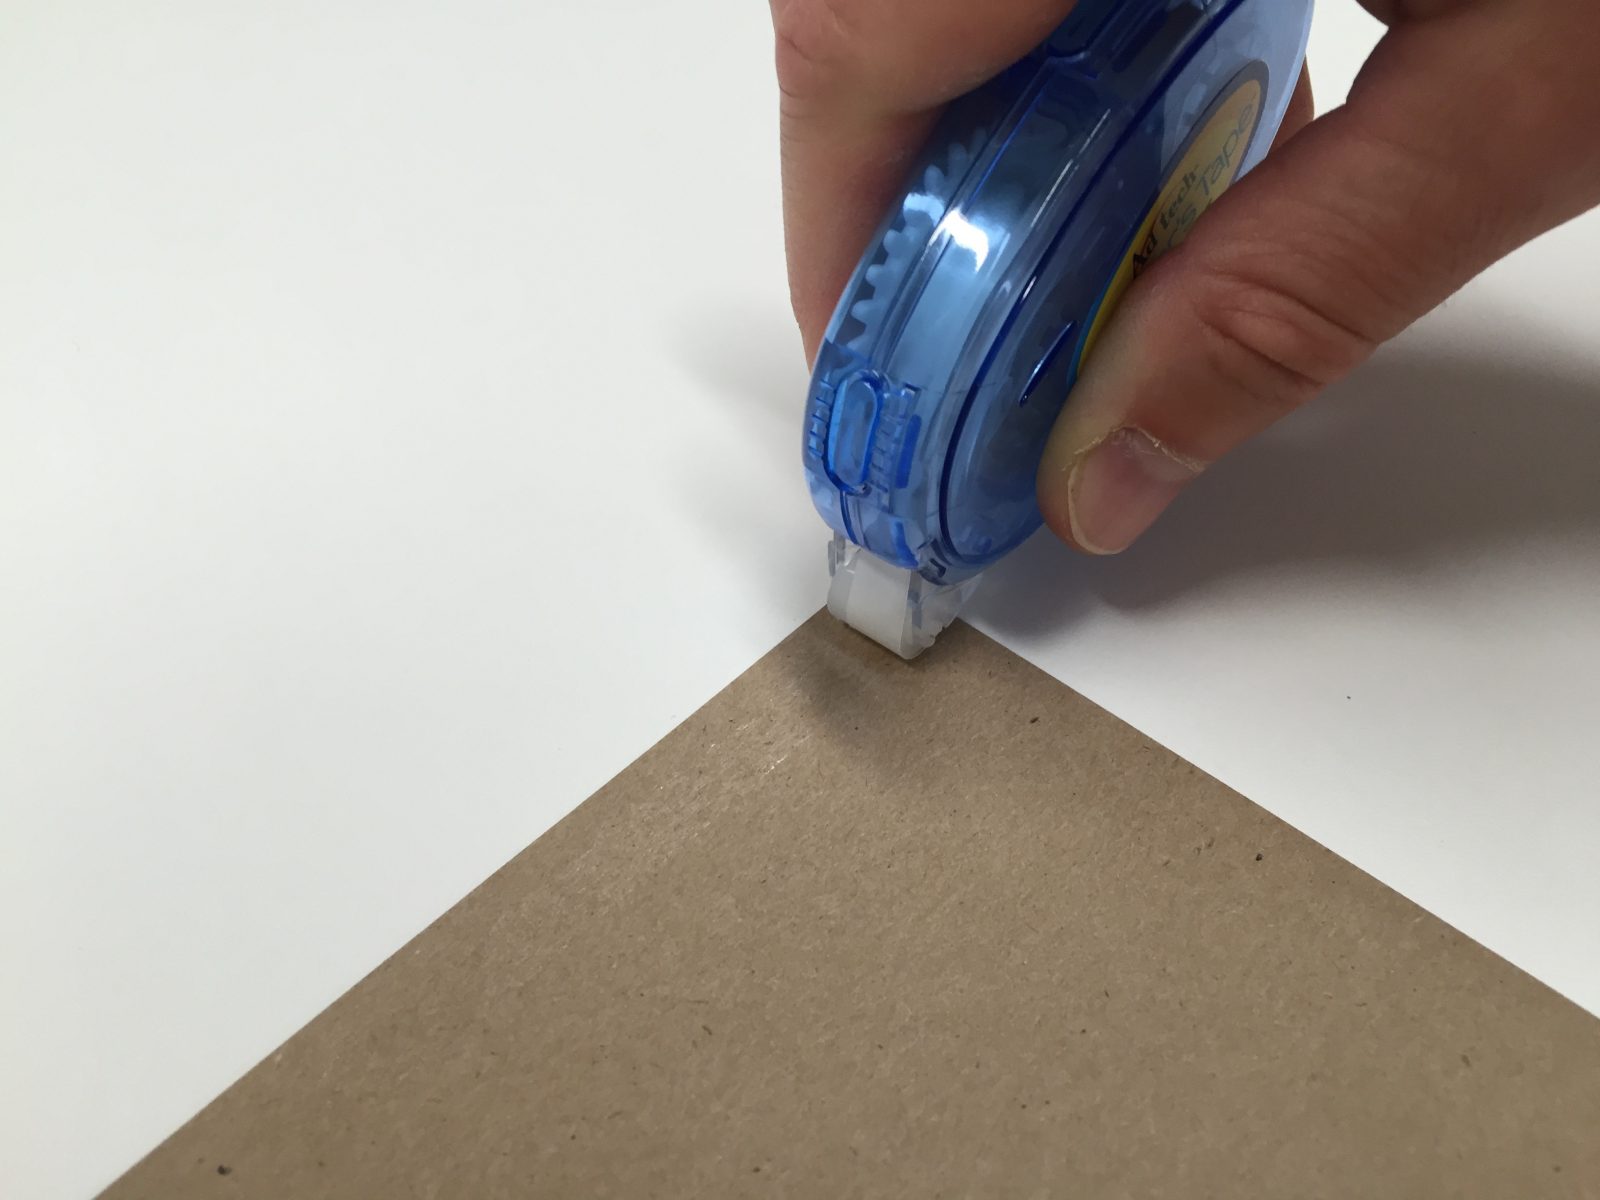
Step: 4) Glue template together with paddle stick
It’s time to glue the program together. We recommend using glue tape. It gives the most professional results and doesn’t make a mess at all. If you look close you can see the glue tape being applied to the paper. It’s a very simple process (one you really can’t mess up).
Once you have the edges done with glue on them. Roll out a few strips of glue tape in the center for the paddle stick. Do this on both sides of the program template. If you want to save glue tape, only apply the tape to one side of the template. Be sure to still apply a few lines for the paddle stick to both sides though to keep it sturdy.
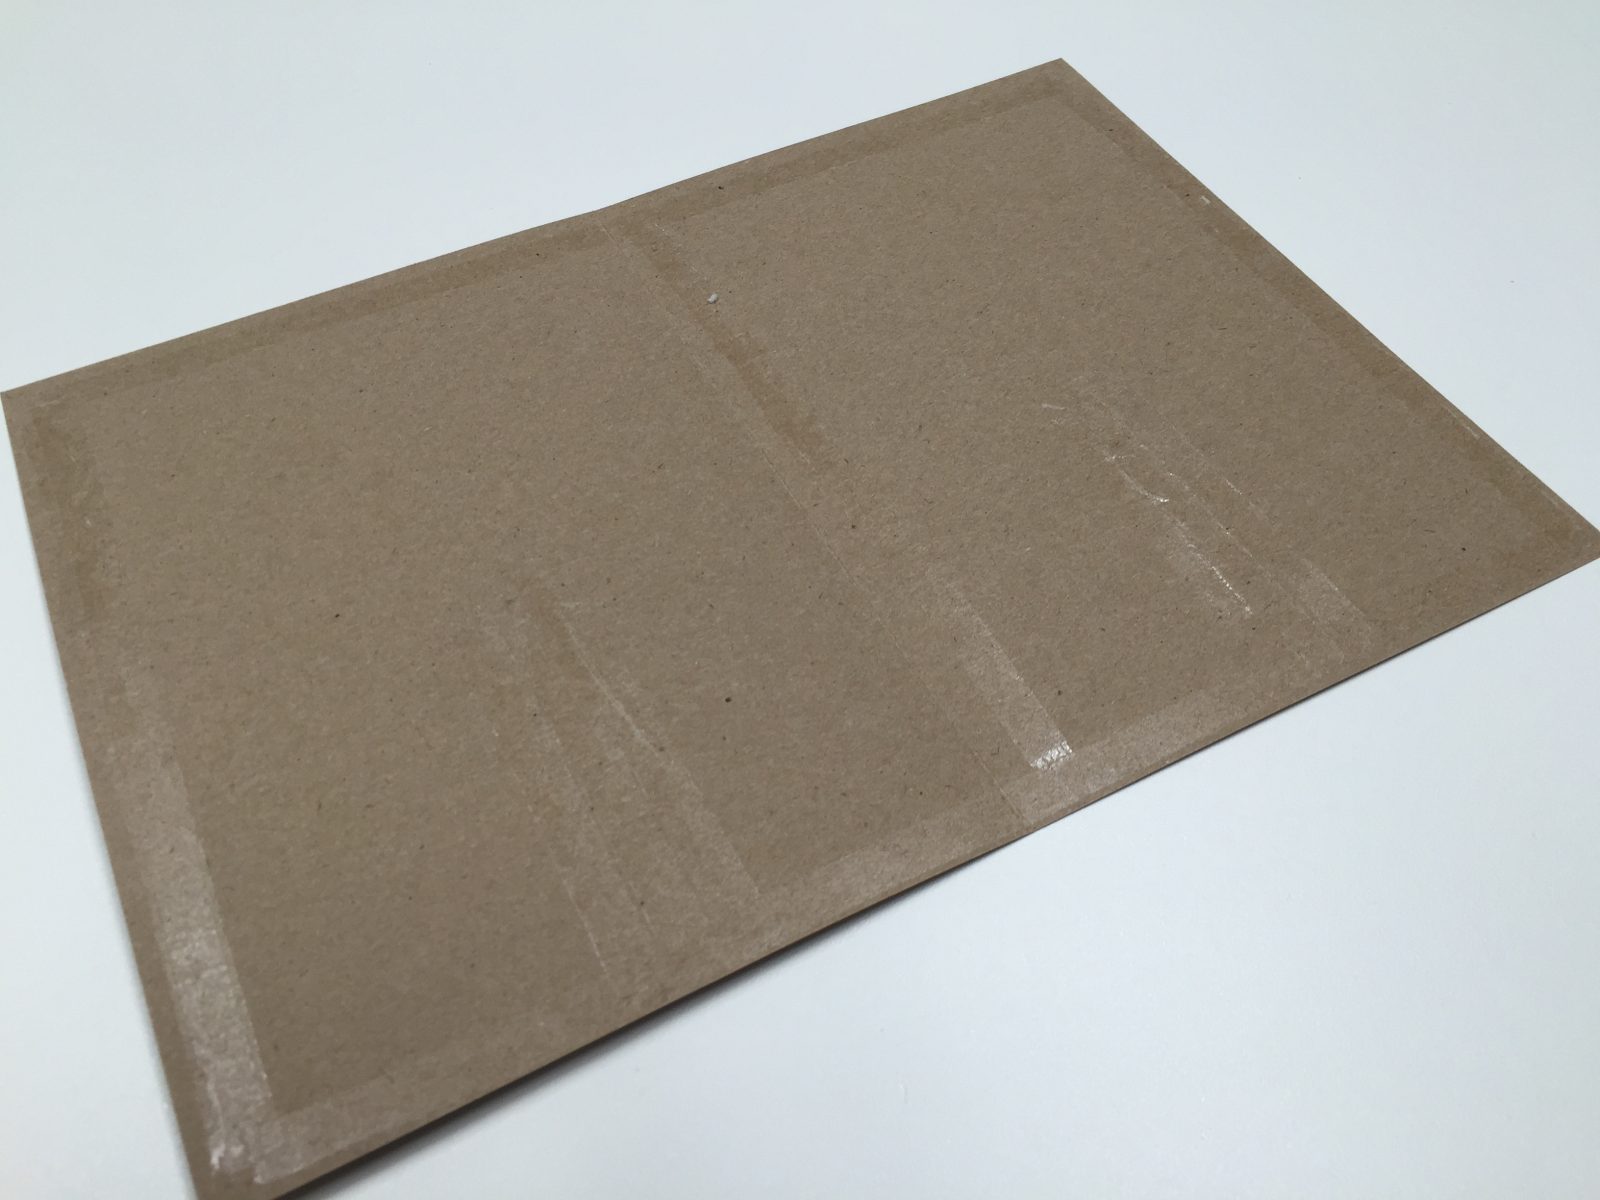
Try to get the glue tape as close to the edge of the paper as possible. When finished, set the paddle stick in place. Be careful to center it and keep it straight. Insert the paddle stick half way into the paper. You can purchase these paddle sticks at most craft stores.
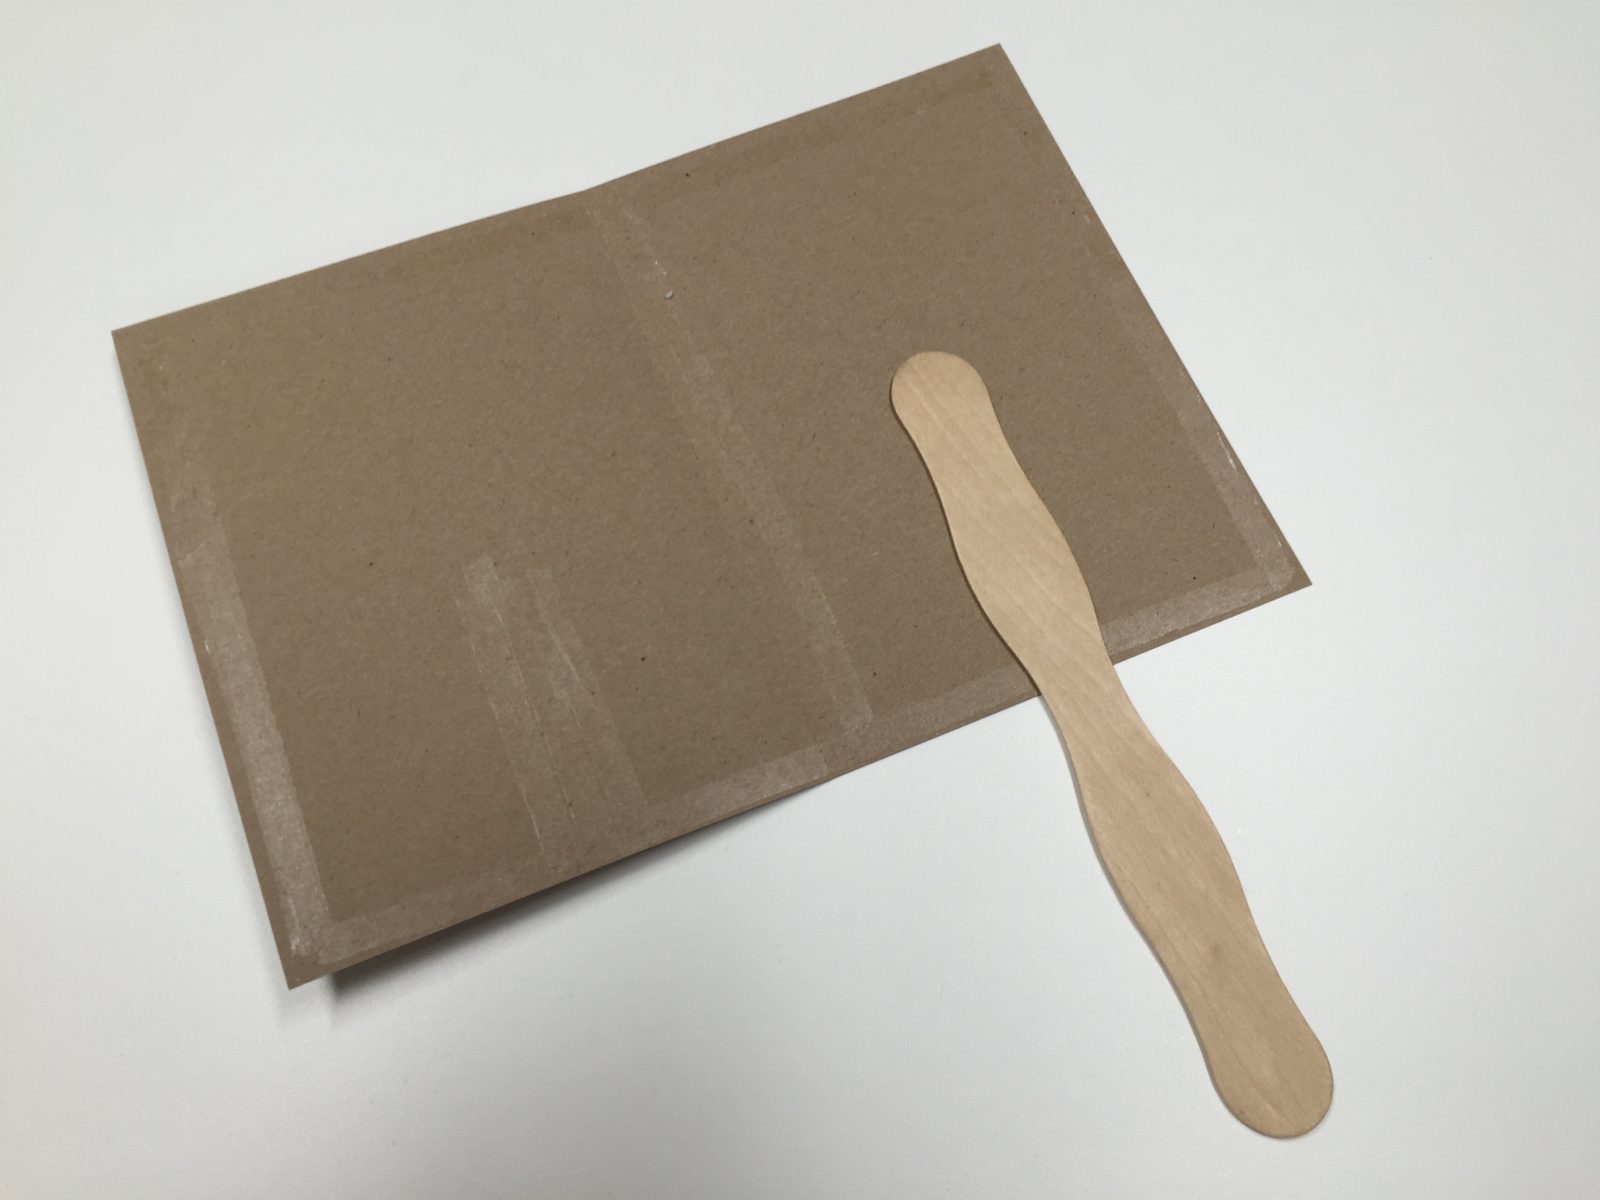
Once you have the paddle stick in place, fold the other half of the template over and press firmly on the glued edges. This is where the glue tape really comes in handy. There’s no chance of pushing any glue out of the edges like with liquid glue.
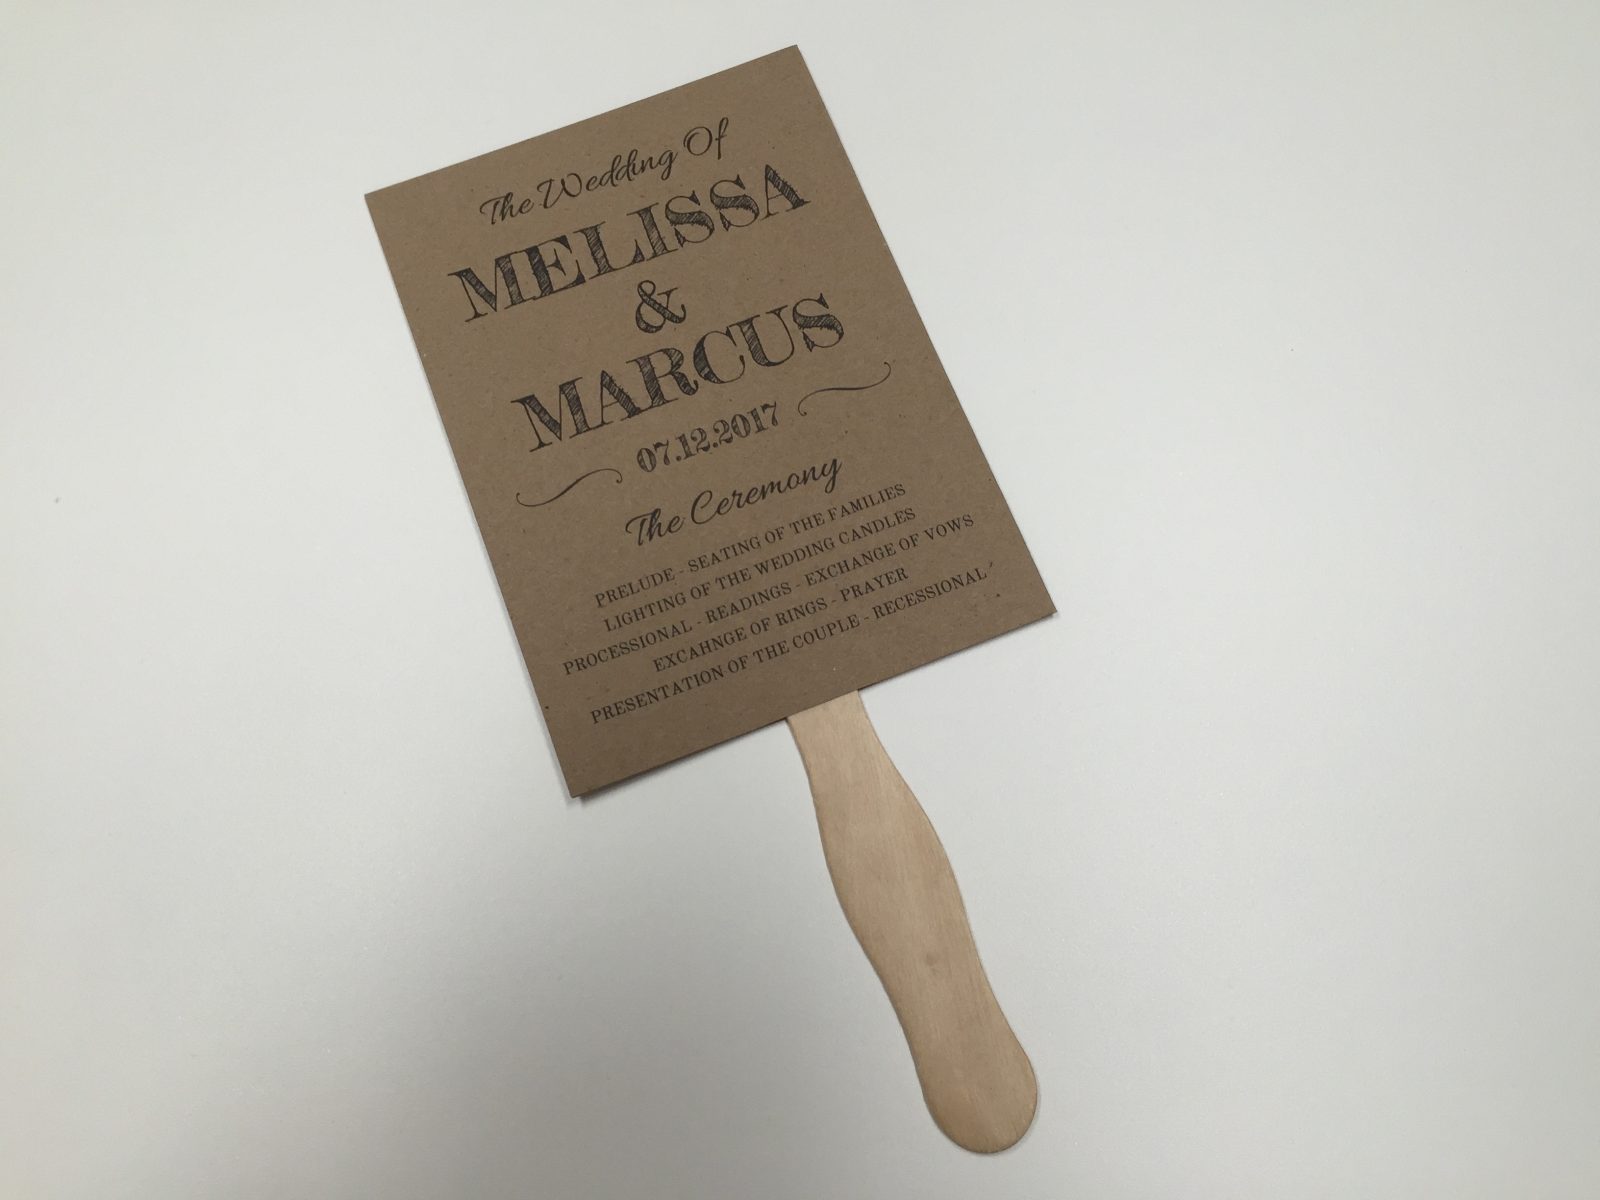
You could call this a finished product if you want but we’re going to take it a step further and round the corners and tie a ribbon on the paddle stick.
Step: 5) Add your finishing touches
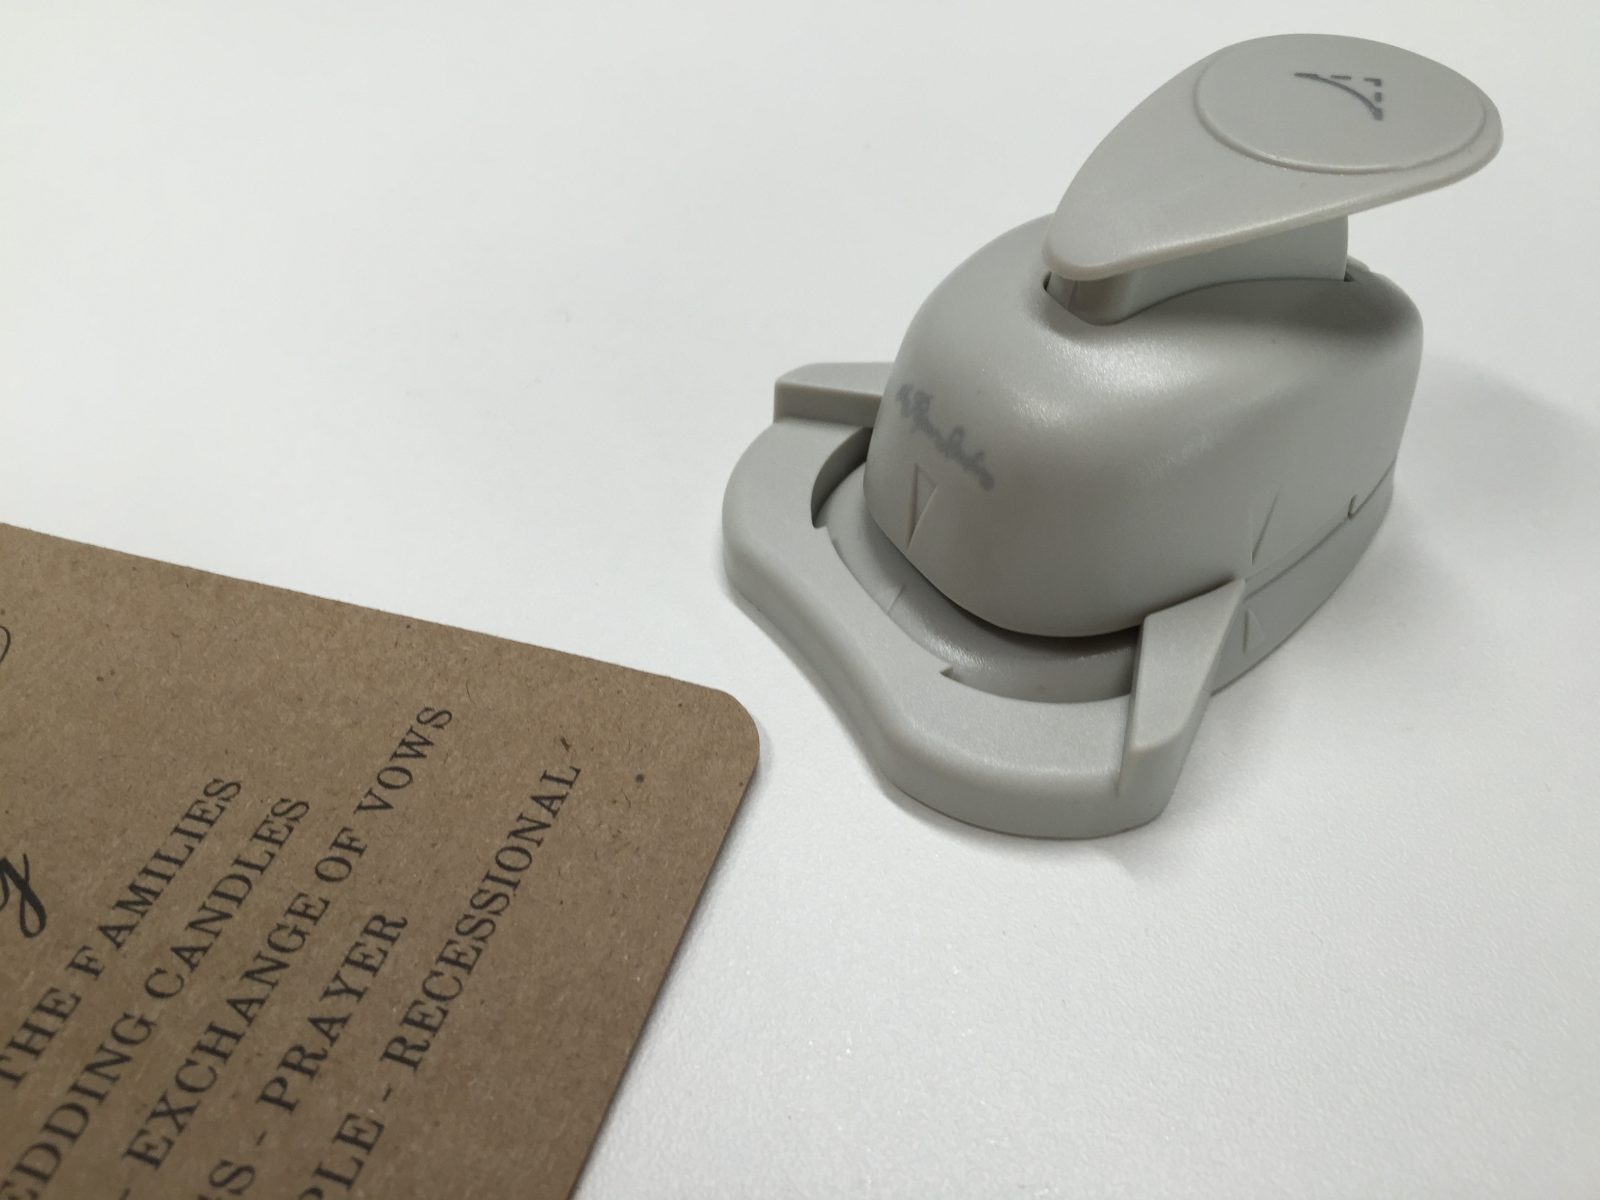
First, we’re going to give it some nice rounded corners with a corner punch. You can pick one of these up at any craft store.
Next, we’ll tie a ribbon around the paddle stick where it meets the Kraft paper. We used some burlap ribbon and cut it to 18″.
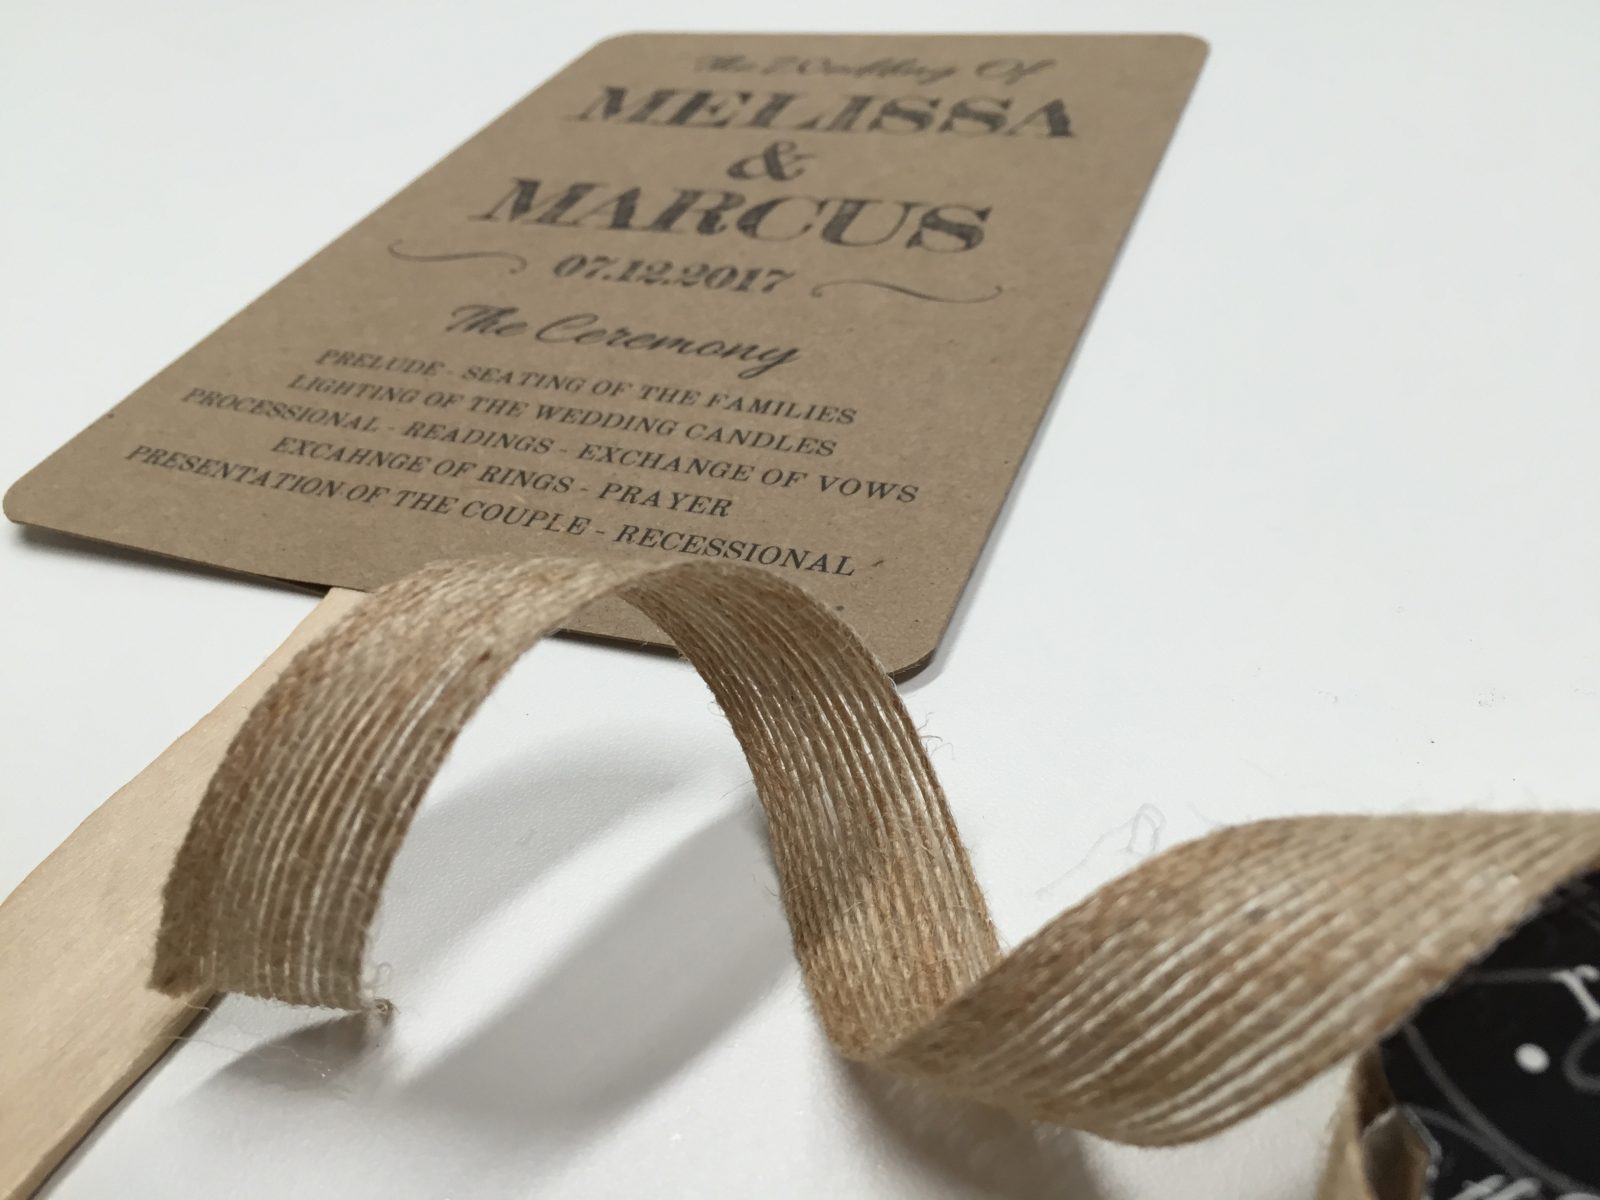
Then tie the bow. It’s just like tying shoe laces.
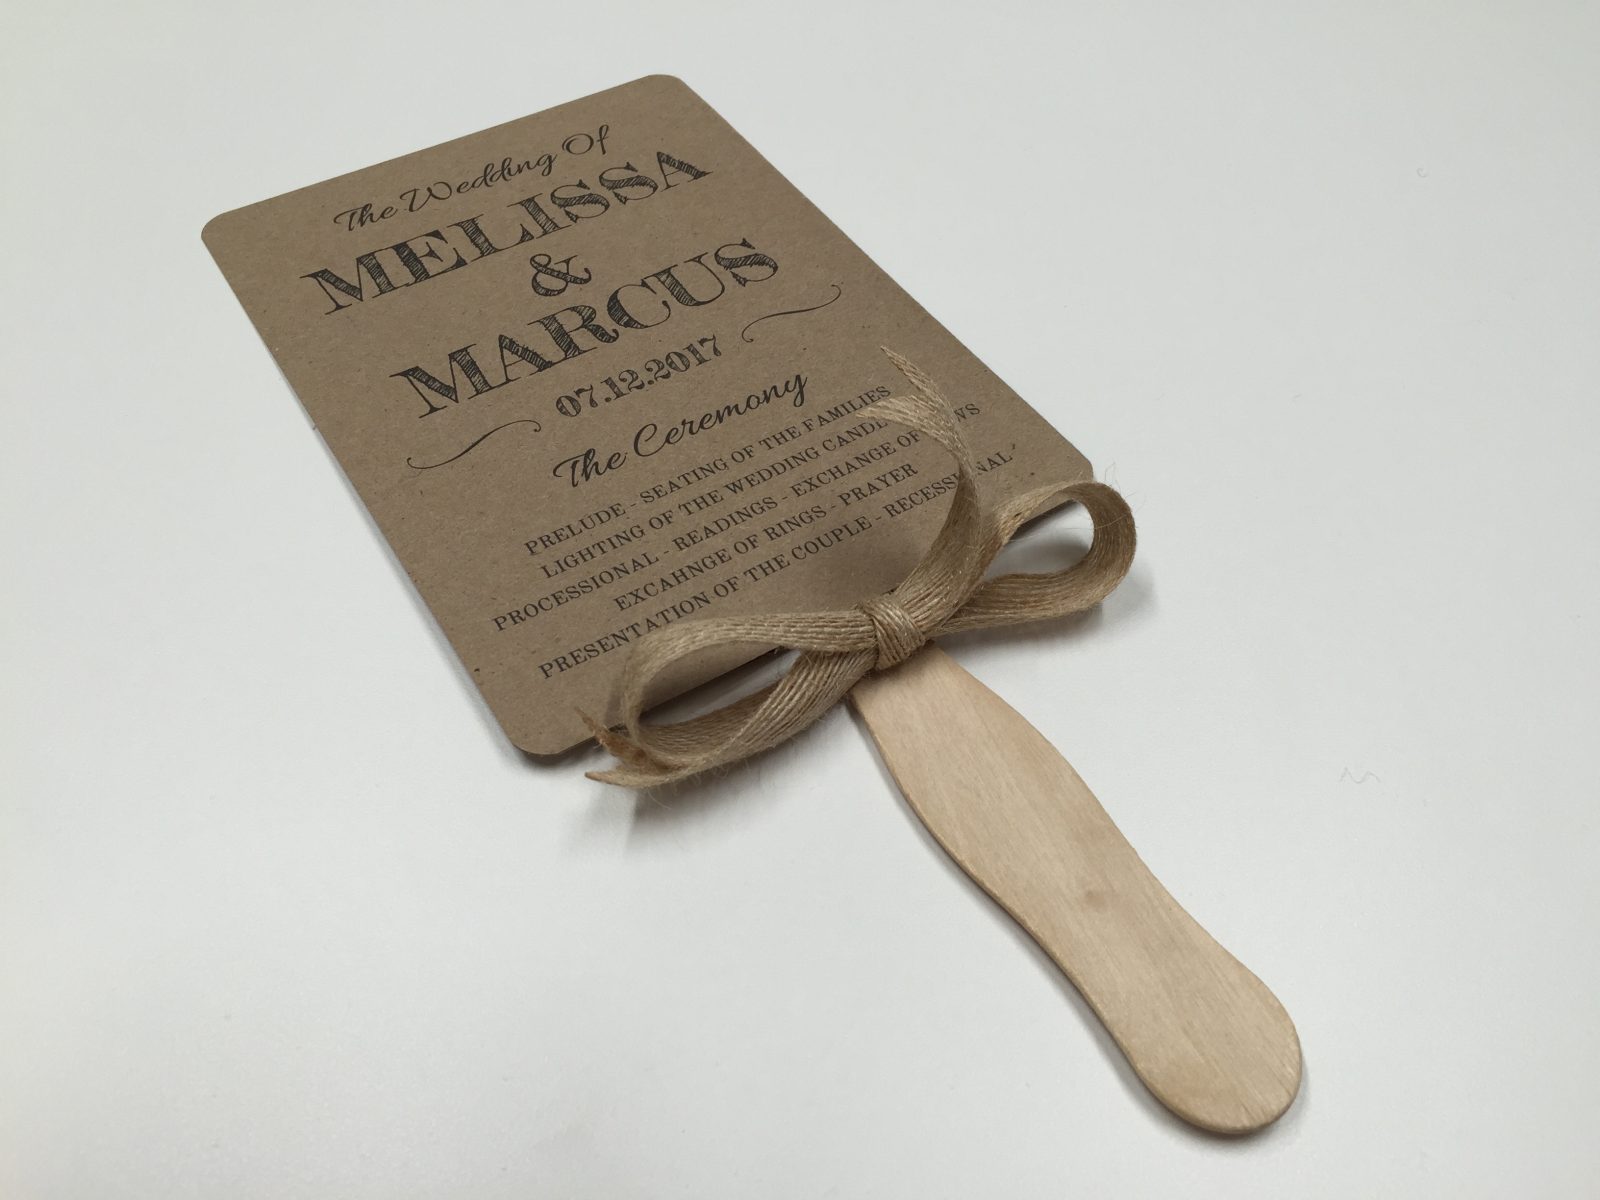
And there you have it. A finished rustic wedding program template! We even decided to notch out the ends of the ribbon to give it a nice finished look.
If you’re ready to get started with your DIY wedding program templates, start here in our shop and choose your template!
What did you think? Let us know in the comments below!