For sellers
Create your first Etsy listing
Choose a shop and templates, then prepare your listing details before publishing.
Start with the templates your buyer should receive, then build the Etsy listing around them. You can review the listing details before creating anything on Etsy.
Before you start
You need an active connected Etsy shop and at least one template available to select. If you have not made a design yet, start with Create your first printable template. This guide covers the Listings Manager flow for accounts with access to it. If you are prompted to connect or refresh Etsy, complete that step first.
New to shop setup? Start with Connect your Etsy shop to Templett.
Open Listings Manager
Open Listings Manager in your seller admin. The Create listing button is in the upper-right corner, beside the listing search field.

An existing shop shown in Listings Manager. Your listings will be different. Select the screenshot to view it at full size.
Select Create listing to start. If your shop is new, you may see an empty list or an import prompt instead of the populated grid shown here.
Choose your shop and templates
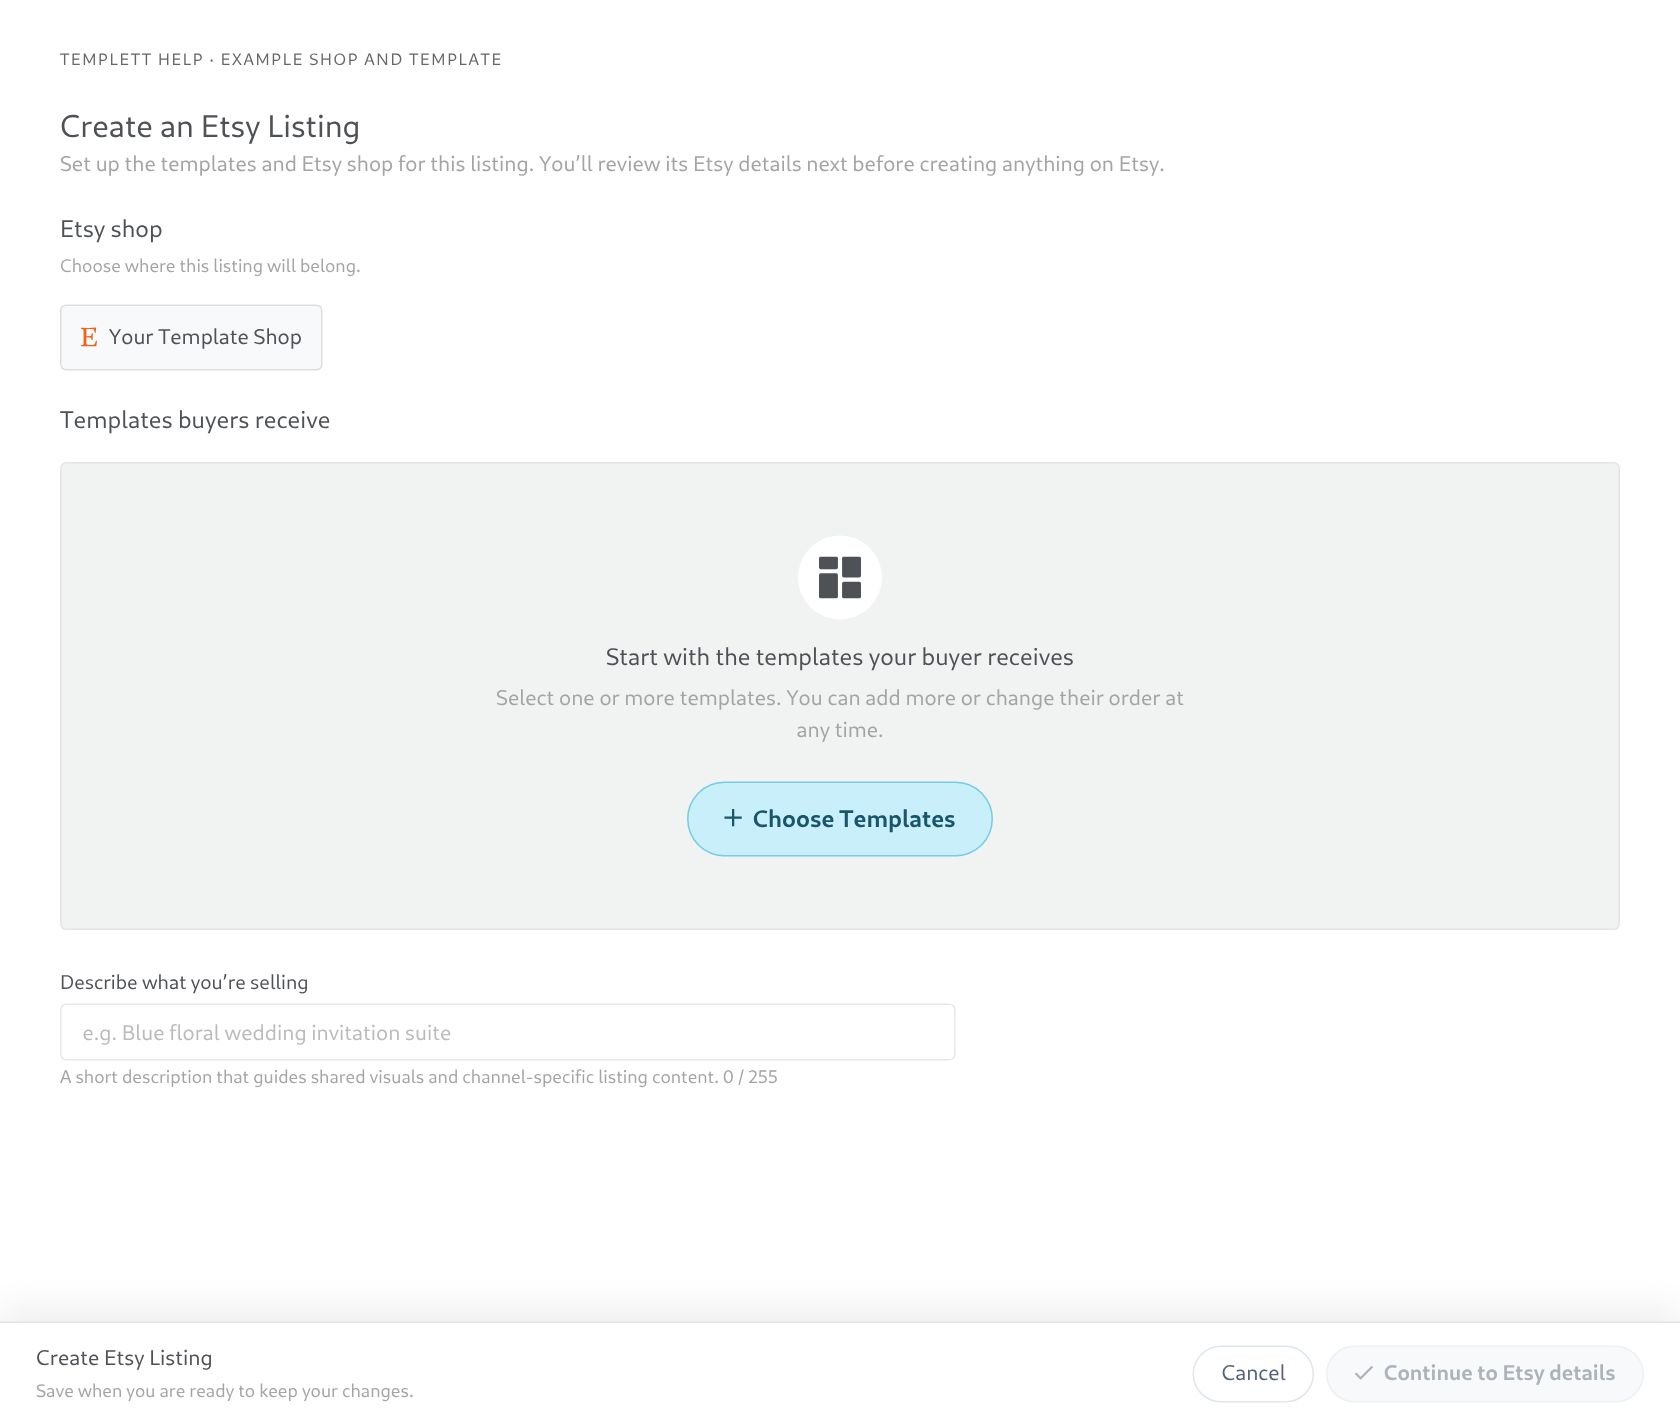
An isolated rendering of the actual listing setup component with an example shop; this is not a screenshot from a signed-in shop. Choose your templates before continuing. Select the screenshot to enlarge it.
- Under Etsy shop, choose where the listing belongs. If you have only one available shop, its name is shown for you.
- Under Templates buyers receive, select Choose Templates and pick the template or templates included in the purchase.
- Check your selection. For a bundle, drag the templates into the order you want. Use Manage Templates if you need to change the selection.
Describe the listing
Fill in Describe what you’re selling. For example: “Blue floral wedding invitation suite.” This description guides shared visuals and listing content; it is not a substitute for reviewing the final Etsy details.
Select Continue to Etsy details.
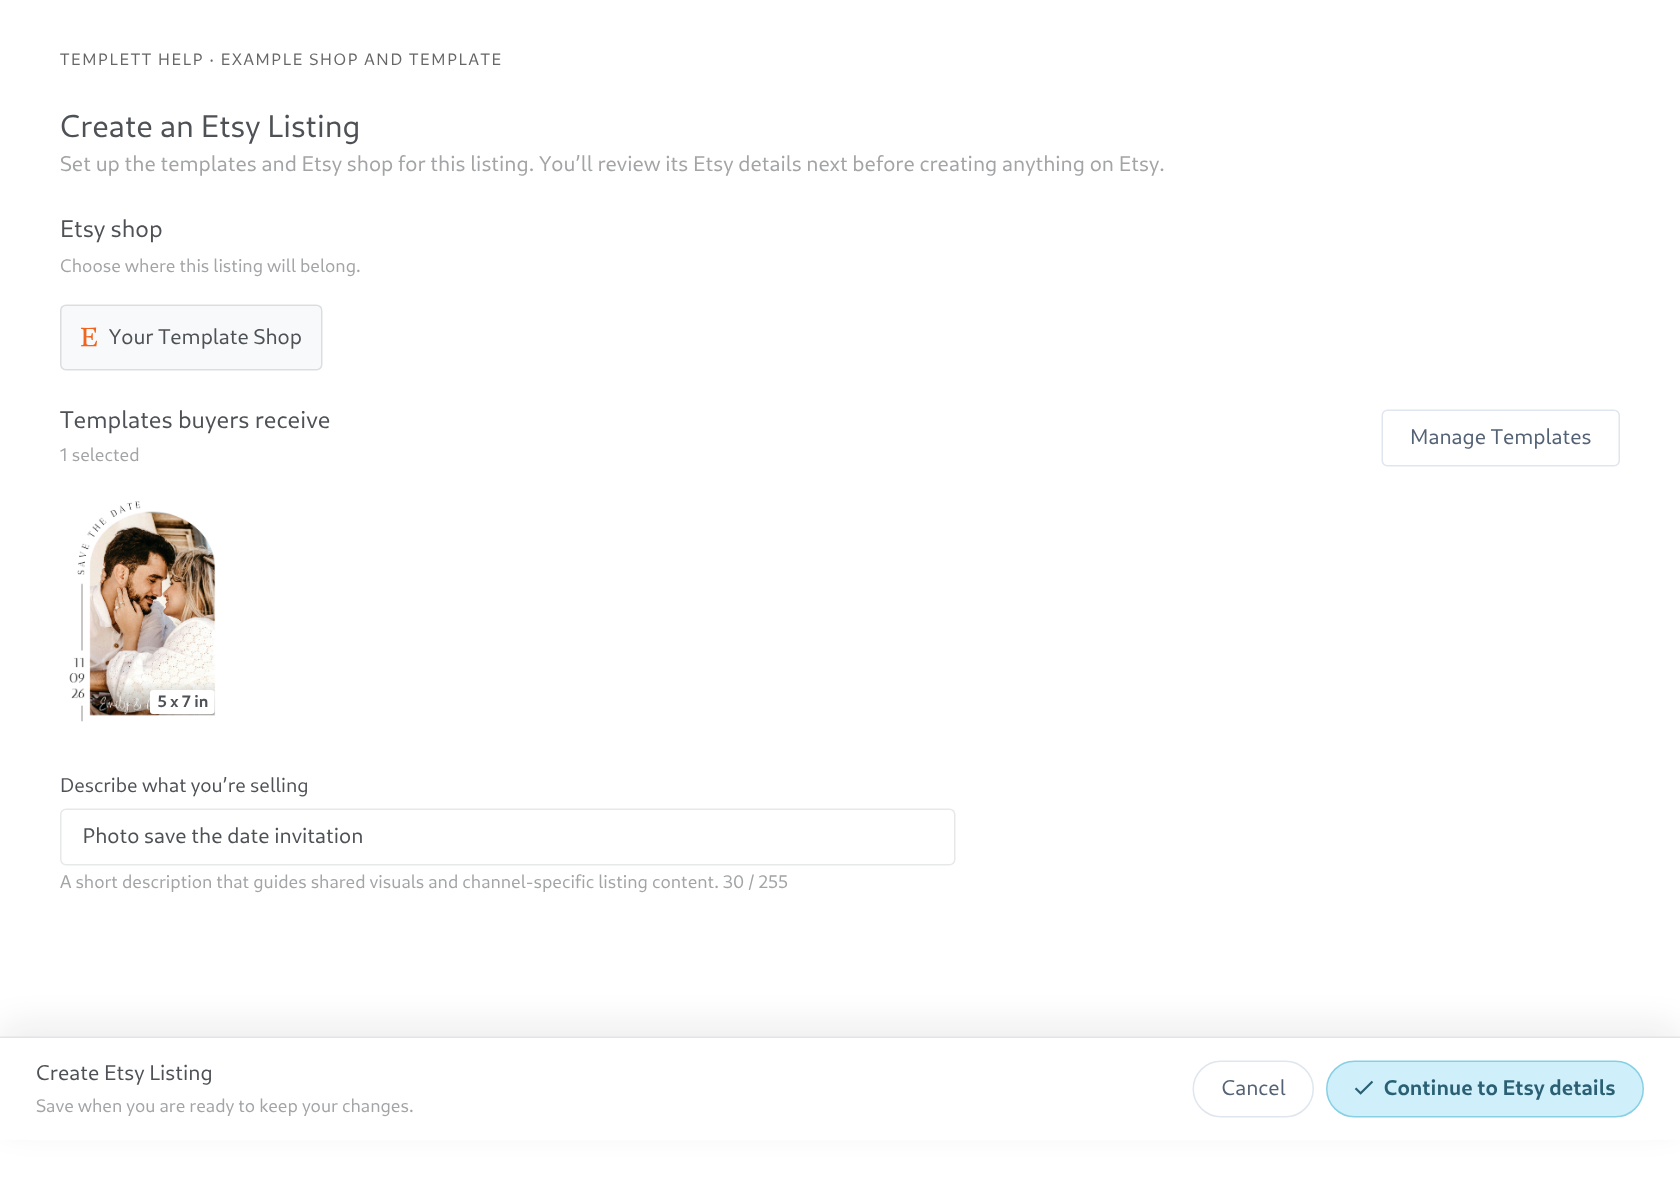
An example of the completed setup: a selected template, a short description, and the action to continue to Etsy details. This preview uses sample data and has not created a listing.
Review the Etsy details
In the listing editor, review the title, description, images, and other fields presented for your listing. Check the included templates against the promises in your description: a listing that advertises an invitation and an RSVP card should include both.
You can generate listing graphics and create a listing video to help show what you are selling. Review generated text and visuals before using them.
Understand the final action
Continuing to the details screen does not publish your listing. The editor offers actions according to the listing's current state, including saving locally, creating or updating an Etsy draft, and publishing when eligible.
Read the action label and any confirmation before proceeding. If publishing is unavailable, review the missing requirements shown in the editor and complete them first.
Before you publish
- Check that the shop and included templates are correct.
- Make the description clear about what the buyer receives and can personalize.
- Check names, dimensions, and other claims in your listing graphics.
- Preview any video and confirm it shows the intended design.
- Review the final Etsy details and the publishing confirmation.
If you are unsure why an action is unavailable, contact support with the listing and the message shown.