For customers
Upload images to your template
Add your own photos or artwork and place them in an editable design.
Upload a file
- Open a template and go to in the editor.
- Select Upload elements, or drag your files into the upload area.
- Choose your images and complete the upload prompts. Add tags if you want to make them easier to find.
- Select Continue, then wait for your images to finish uploading and appear in Uploads.
The upload picker accepts JPG/JPEG, PNG, SVG, HEIC, and HEIF. Use files you have permission to use.
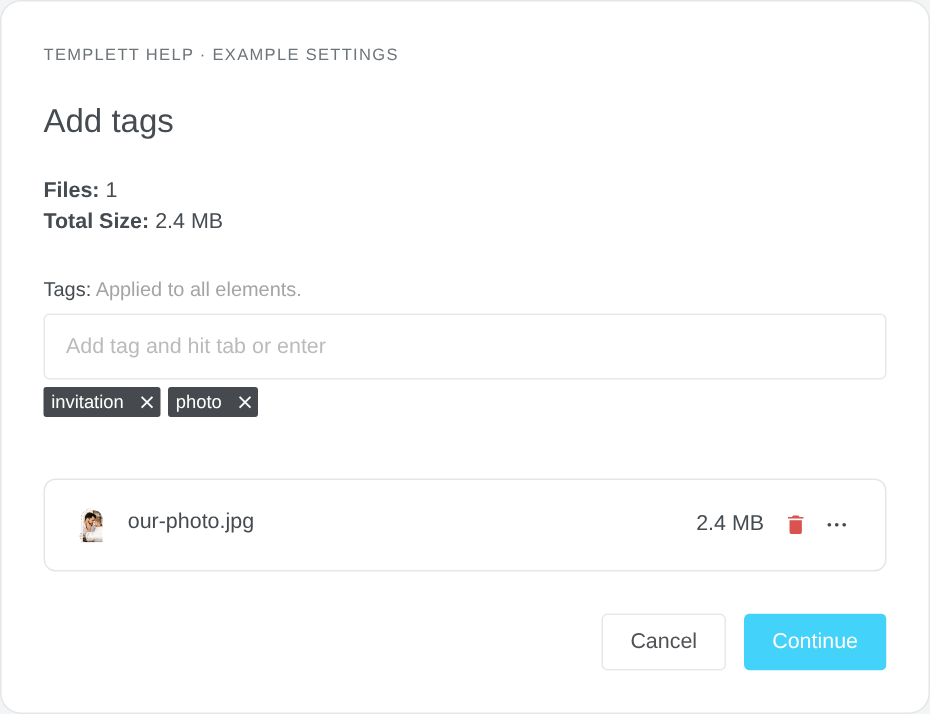
Example upload confirmation. Tags are optional; Continue proceeds with the upload. Select the image to view it full size.
Place the image
Choose an uploaded image to add it to the design. Move it into position and resize it with the corner controls. Use a clear, high-resolution original for a photo that will be printed; enlarging a small image does not add detail.
For an editable photo frame, follow Add and adjust a photo inside a frame, including how to enter image editing mode and finish the adjustment. For an ordinary rectangular image, use Crop Image. To fill the page behind your wording, use Background.
Before saving
Check the crop, position, and any text near the image. Select when you are happy with the result.
Find or remove an uploaded file
Use the search field in Uploads to find an upload by its searchable details or tags. To remove a file you own, open its element actions and choose Delete. Read the confirmation before choosing Yes; choose No to keep it. If the warning says it is assigned to templates, check those uses before proceeding.
Removing an uploaded library file is different from selecting an image on the canvas and deleting that one placed object. Use object controls when you only want to remove it from the current design.