For sellers
Create and customize a calendar
Add a month to your design, choose the start of the week, and style the dates to match your template.
Use the calendar tool to add a monthly calendar to your design. Choose the month and year, then style the labels and dates.
This guide uses November 2026 as an example. The screenshots pair the calendar controls with an example calendar. These are isolated previews, not screenshots of a complete saved template.
1. Add a month to your design
Open the template page you want to work on. In the designer’s Elements area, open the calendar option.
- Select the Month/Year field.
- Choose the year and month you need.
- Select Add Calendar.
Move and resize the calendar on the page to fit your design.
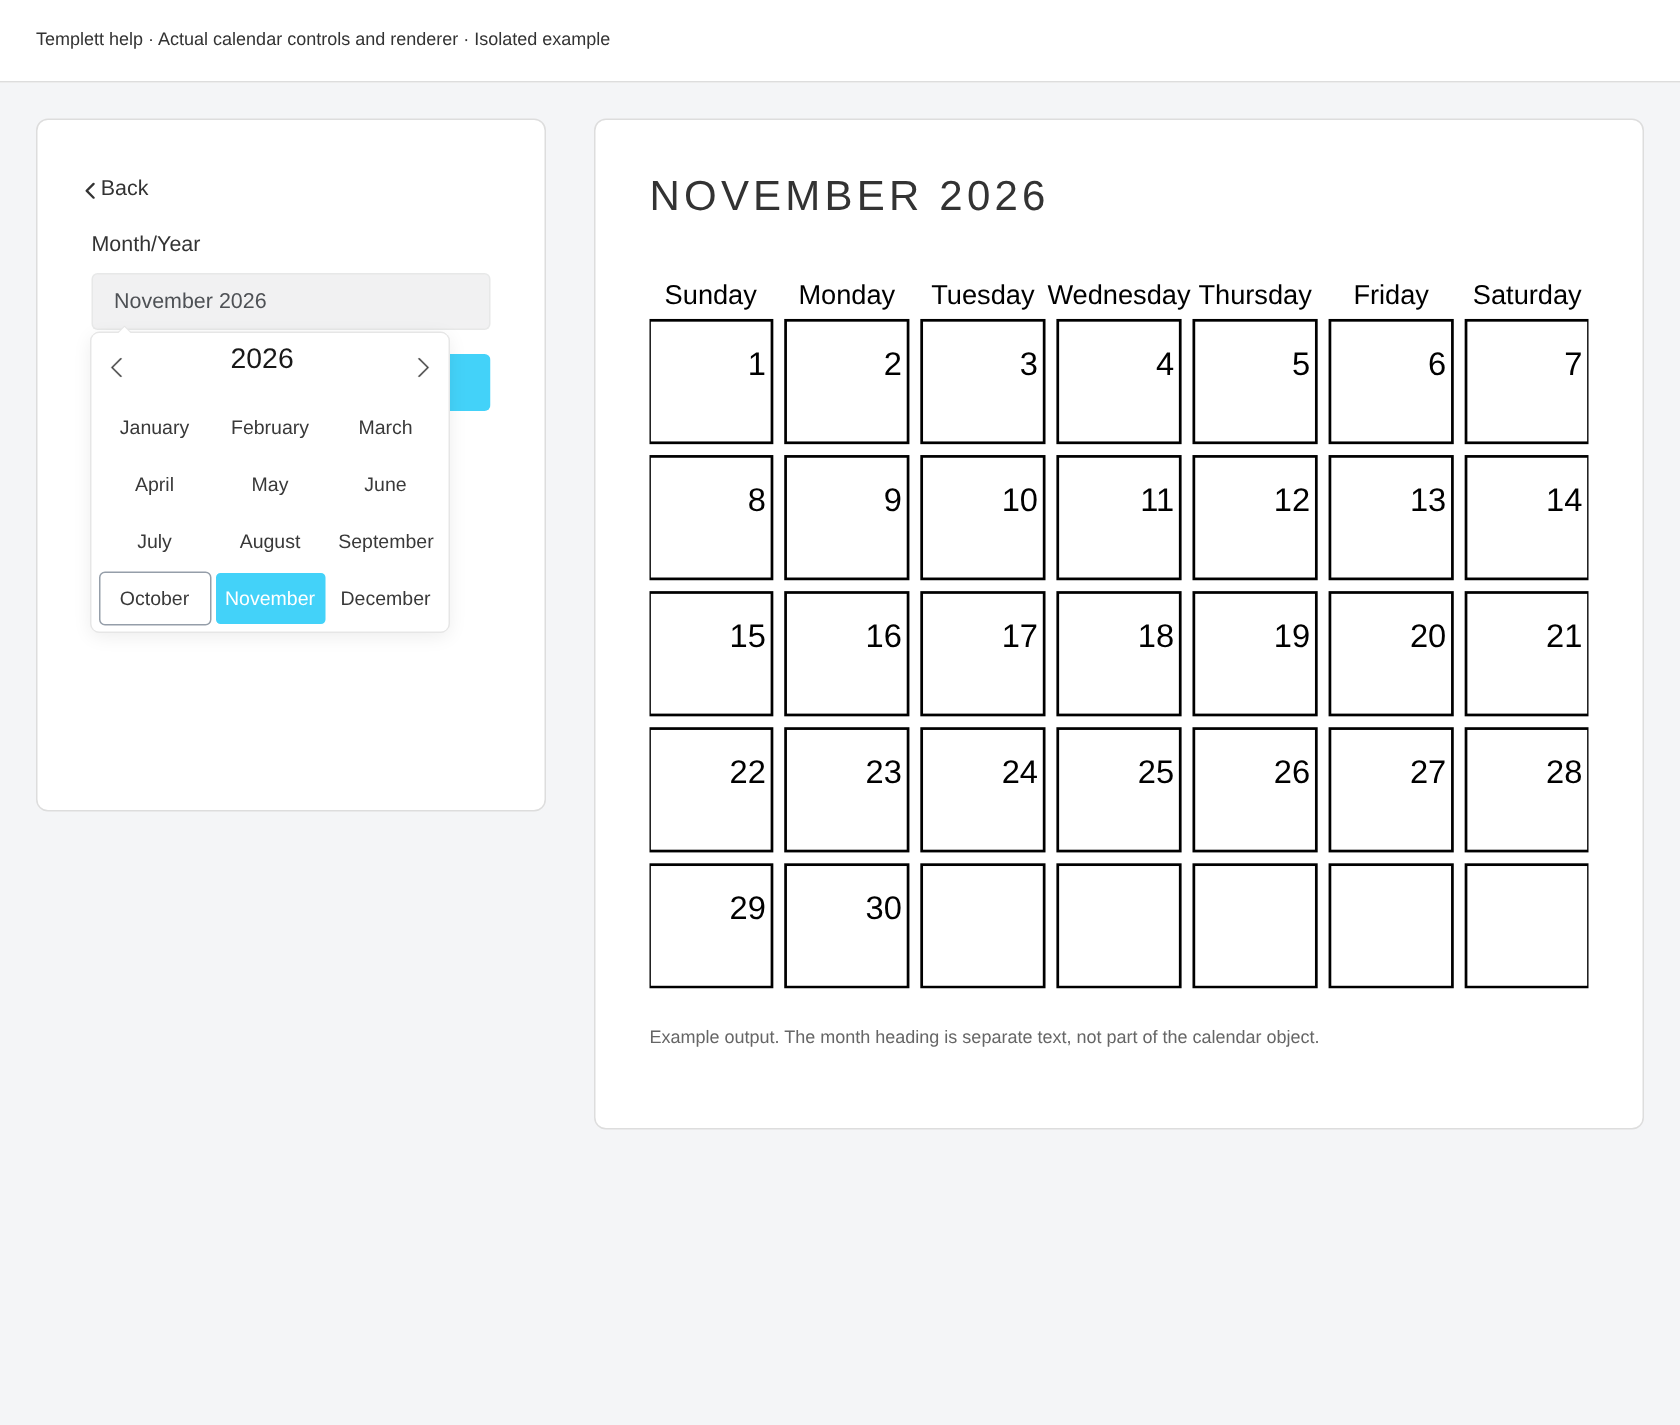
Choose the month and year before adding the calendar. The grid on the right shows the corresponding example output; it is displayed beside the controls here to explain the result. Select the image to enlarge it.
2. Open the calendar settings
Select an unlocked calendar on your page. On desktop, choose Edit calendar at the top of Properties to open its settings. Choose Back to return to the object tools. On phones, tap Edit calendar beside Properties in the bottom bar, then tap Done or swipe down on the sheet header to return to the design. Changes apply as you make them.
Use Month/Year to change the month of an existing calendar. Under Start Day, choose Sunday or Monday. Templett rearranges the date grid to match.
For this example, choose Monday. November 1, 2026 is a Sunday, so the number 1 appears in the last column of the first row. That is expected: the blank cells before it keep the dates aligned with the correct weekdays.
3. Style the weekday labels
The Weekday labels section controls the row of names above the dates.
- Use the Off/On switch to hide or show the labels.
- Choose English, Spanish, French, German, or Italian for the weekday names.
- Choose 1-letter, 3-letter, or Full name labels.
- Use Uppercase to switch between uppercase and capitalized labels.
- Adjust Font Color, Font Size, and Background to suit your design.
Short labels are useful when your calendar is small. In this example, use 3-letter labels with a muted green font color and a pale green background.
4. Style the dates
The Dates section controls the numbered cells.
- Font Color and Font Size change the date numbers.
- Position places numbers at the top-left, top-right, center, bottom-left, or bottom-right of each cell.
Under Cell Appearance, use Cell background to change the date-cell fill and Cell spacing to adjust the gaps between cells. Stroke color and Stroke Width control the cell outlines. Set the width to 0 for no outline.
For a softer look, use a pale cell background, set Stroke Width to 0, and choose the center position for the numbers.
5. Add a heading and finish the page
The calendar object contains the weekday labels and date grid. Add a separate text element if you want a heading such as November 2026, and arrange it above the calendar.
Keep the heading and the calendar’s Month/Year setting in sync. Changing the calendar’s month does not change a separate text heading for you.
Review the calendar at the size you intend to use. Make sure the labels and numbers are readable, then save your template using the editor’s Save control.
For a multi-month design, add another calendar for each month you need and set each calendar’s month and year separately.
Common questions
Why are there blank cells at the beginning or end?
The calendar keeps a seven-day grid. Empty cells align the first and last dates with the correct weekday columns; they are not missing dates.
Why is the calendar showing the wrong month?
Select the calendar, choose Edit, and check both the month and the year. Also check any separate month heading you added to the page.
Why can’t I see the weekday names?
In Edit → Weekday, check that the switch is on. Check the font color against the background, too. If full names feel crowded, try three-letter or one-letter labels.
I don’t see the Edit control. What should I check?
Make sure you selected the calendar object itself. A photograph or uploaded image of a calendar does not have the calendar tool’s date settings.