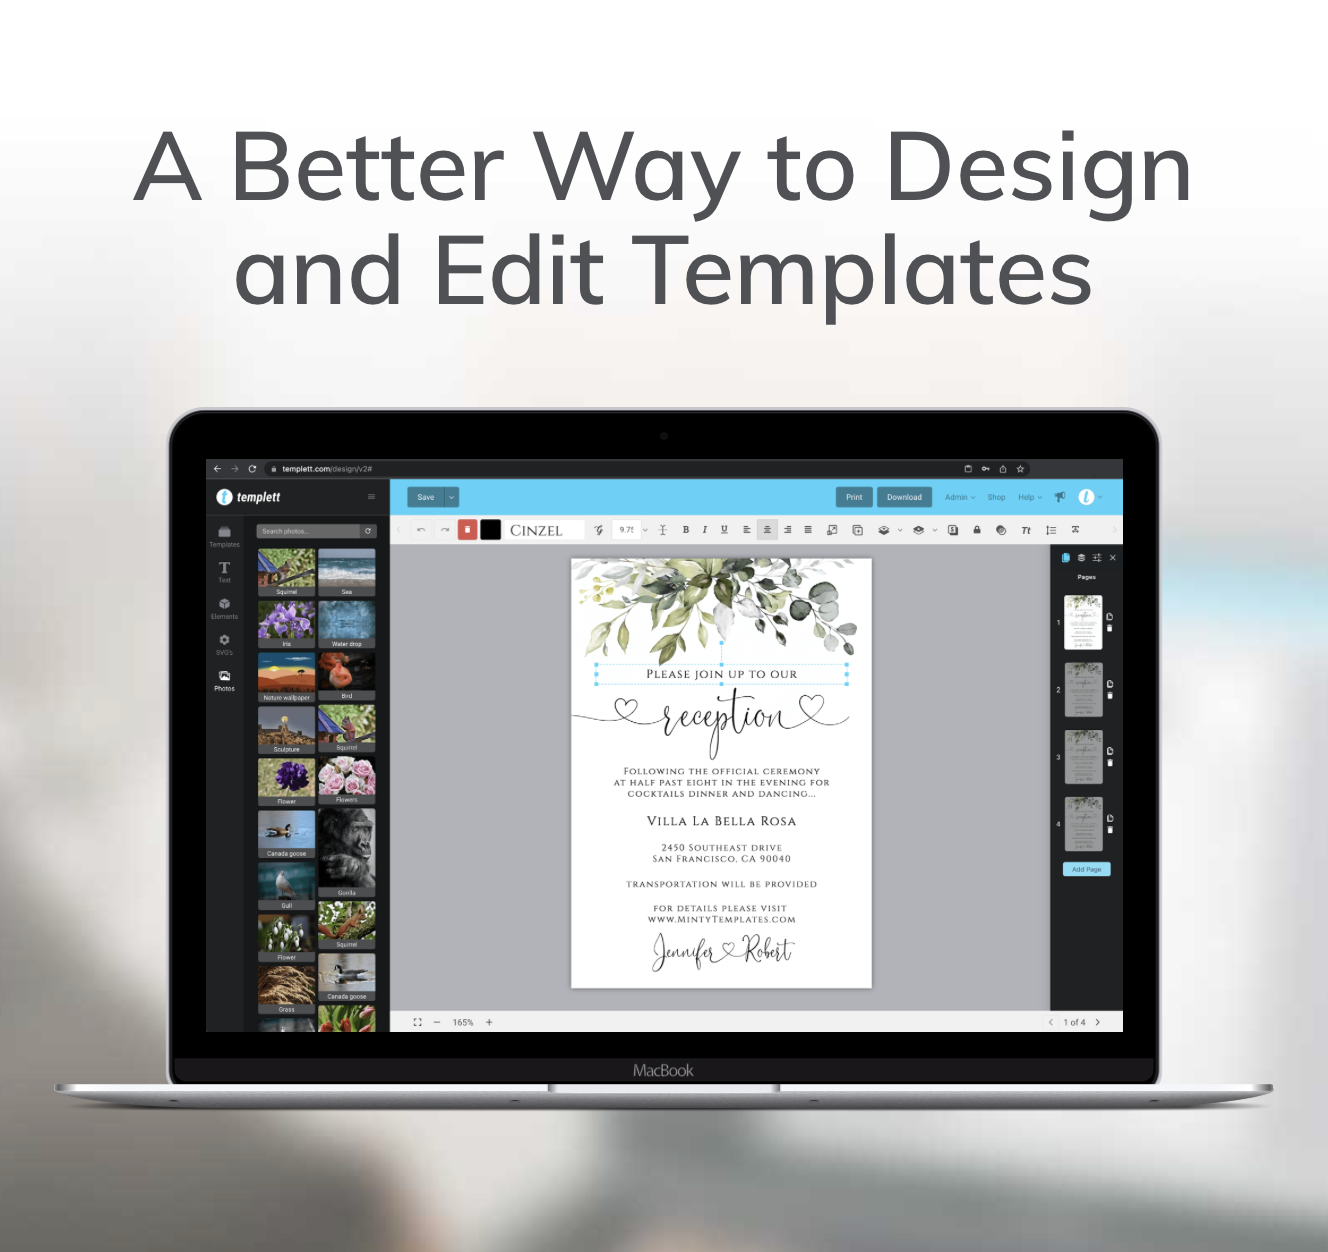
I’m sure you find yourself in moments as you’re creating—that you don’t want certain aspects of your design to be changed when the customer buys that template. Thankfully, Templett’s Locking Objects feature is here to save the day. This handy tool gives you more control over your designs, ensuring that everything stays exactly where you want it for both you and your customer when they buy your template.
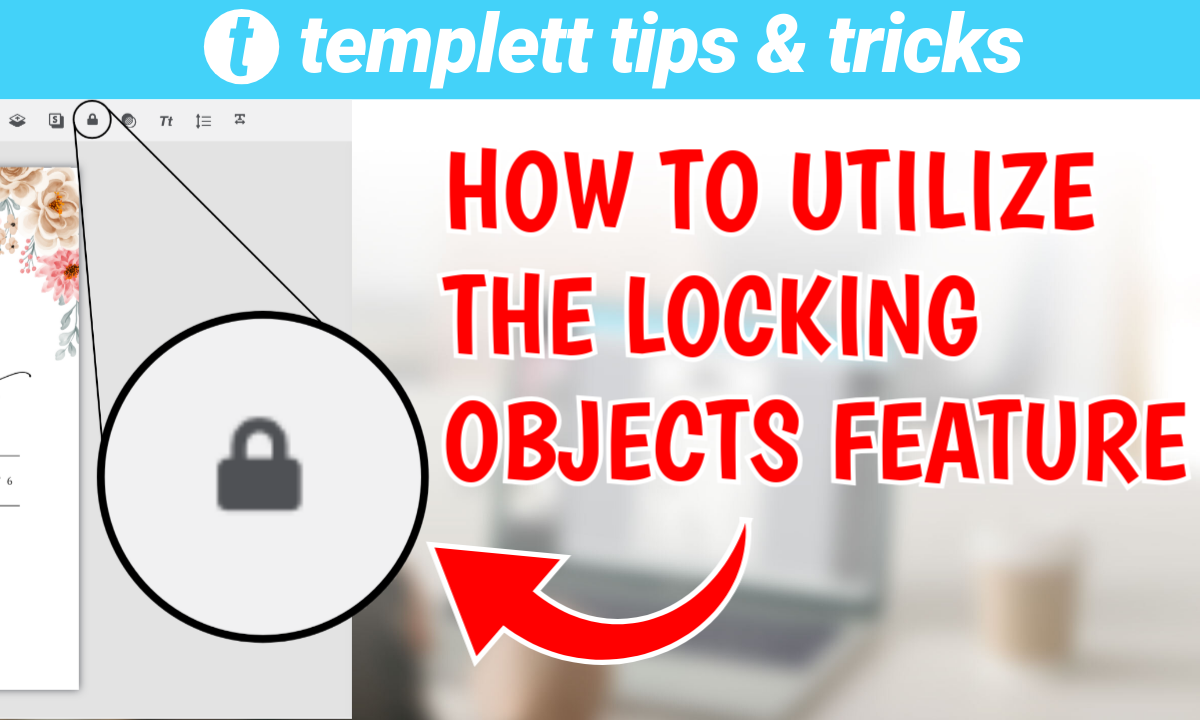
What is the Locking Objects Feature?
So, what exactly does locking objects mean in Templett? Essentially, this feature allows you to “lock” specific elements of your design in place. Once an object is locked, it can’t be moved, resized, or edited, depending on the option(s) that you chose. This can be a game-changer, especially when you want to protect parts of your design and not allow a customer to change them.
Why Use It?
The Locking Objects feature is perfect for maintaining the integrity of your design for your customers. Imagine you’ve spent time getting your images and other elements positioned just right. The last thing you want is for your customer to accidentally drag something out of place while adjusting another part of that design. Locking objects prevents these kinds of mishaps, keeping everything securely in place.
Not only does this save you from potential headaches but it will also speed up their workflow. They can focus on the parts of the design that needs editing without worrying about disrupting the elements that are already perfectly set.
How to Use Locking Objects in Templett
Using the Locking Objects feature in Templett is super simple. Here’s a quick guide to get you started:
1. Select the Object: Click on the object you want to lock. This could be a text box, image, shape, or any other element in your design. When you click on the object of your choosing, you’ll see that object highlighted.
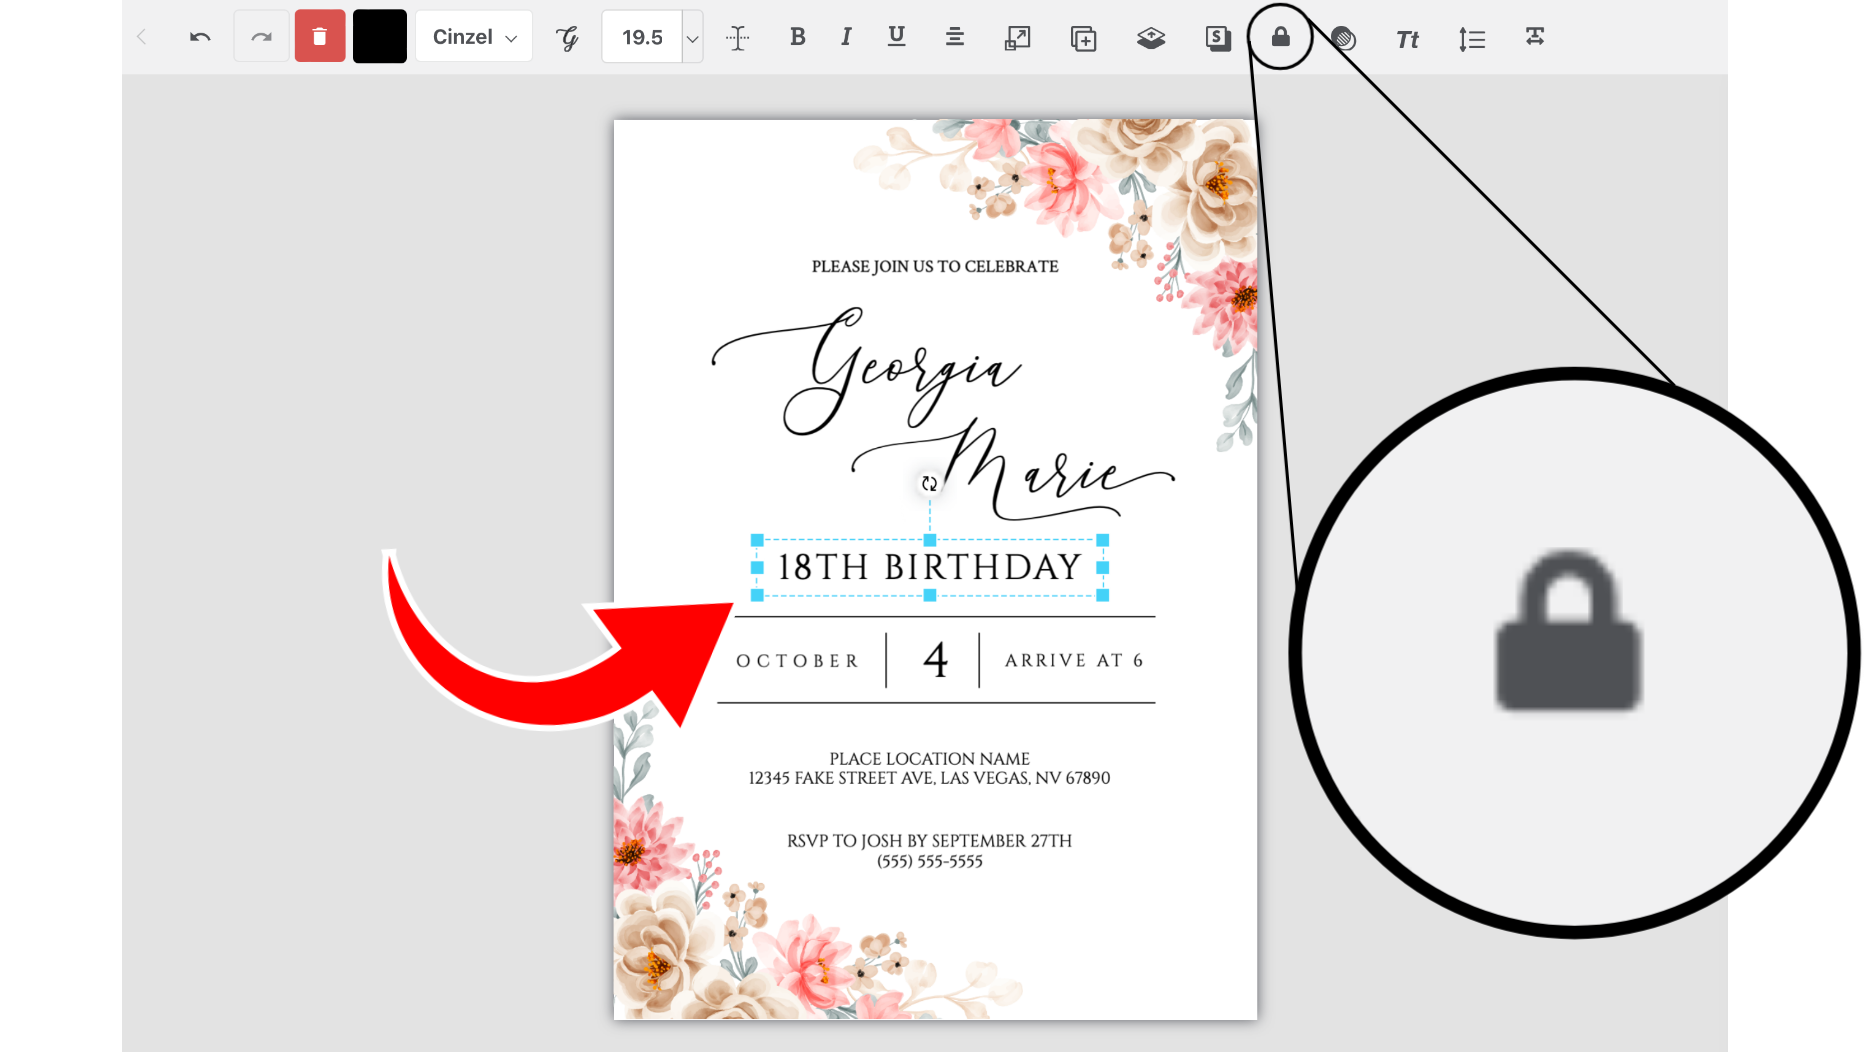
2. Lock the Object: Once the object is selected, you’ll find a lock icon in the toolbar as shown in the photo above. Click it and the different options for what you want to lock on the object comes up. You can either lock the selection, movement, or the color of the object. Locking the selection will prevent your customers from ever clicking on that object to begin with. Locking the movement will prevent customers from moving the object. Finally, locking the color will prevent your customers from changing the color of that object! You can choose any combinations of things that you want to lock on the object. Using the example above, clicking on a text will also bring up the three more options seen below which are all self-explanatory.

3. Unlocking: Need to make adjustments later? No problem. Go into the layers panel on the right hand side of your screen, click on the object as it lies in the layers, and lastly click on the lock icon in the tool bar to deselect the different option, and voila! You can now edit the object as you see fit.
By mastering the Locking Objects feature, you gain full control over your design process!
Wrapping Up: The Power of Locking Objects
Templett’s Locking Objects feature is one of those tools that you never knew you needed until you use it. Once you do, you’ll wonder how you ever got by without it. Locking objects ensures that your designs stay just the way you envisioned them, without the frustration of your customers accidentally changing or moving certain elements. It’s all about giving you more control and peace of mind as you’re creating more templates.