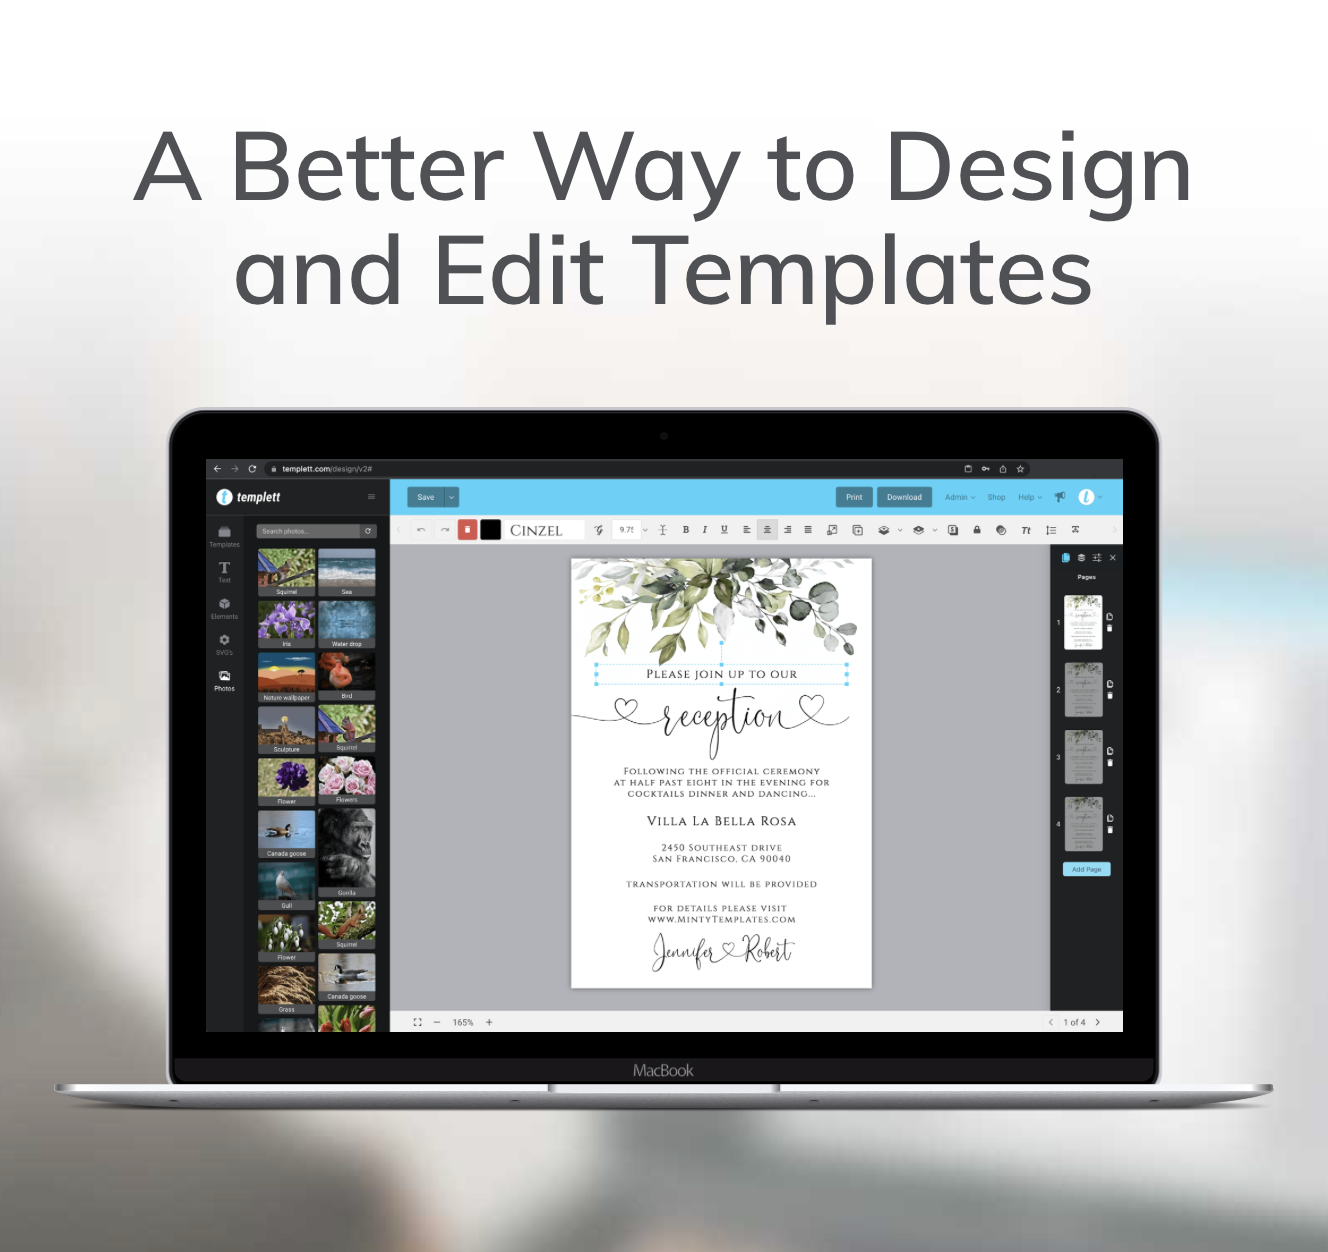
When you’re working on a design, every little detail counts. Whether it’s the color palette, the layout, or the typography, each choice you make shapes the final outcome. One feature in Templett that often goes unnoticed but can elevate your designs is the font glyphs panel. If you haven’t explored this yet, you’re in for a treat!
What Exactly is the Font Glyphs Panel?
The font glyphs panel is like a secret stash of design goodies that you didn’t know you had. It gives you access to a range of characters and symbols that aren’t available on your regular keyboard. These can include stylish alternates, ligatures, swashes, and other special characters that come with certain fonts. By diving into the different options, you can add a unique flair to your text that makes your design pop.
Why Should You Use Font Glyphs?
- Enhance Your Typography: Typography isn’t just about letters and numbers; it’s about making a statement. By using font glyphs, you can transform plain text into something much more artistic and impactful. Those extra characters hidden in the Font Glyph Panel can turn an ordinary word into a work of art.
- Add a Personal Touch: Font glyphs give you the power to customize your text in ways that make your designs feel more personal and handcrafted. Imagine adding a decorative swash to the end of a word or using a special ligature that connects letters in a stylish way. These little touches can make a big difference.
- Keep Up with Design Trends: The design world is always evolving, and font glyphs can help you stay on trend. By experimenting with different font glyphs, you can create designs that feel fresh and modern, keeping your work ahead of the curve.
How to Use the Font Glyph Panel in Templett
Using font glyphs in Templett is super easy:
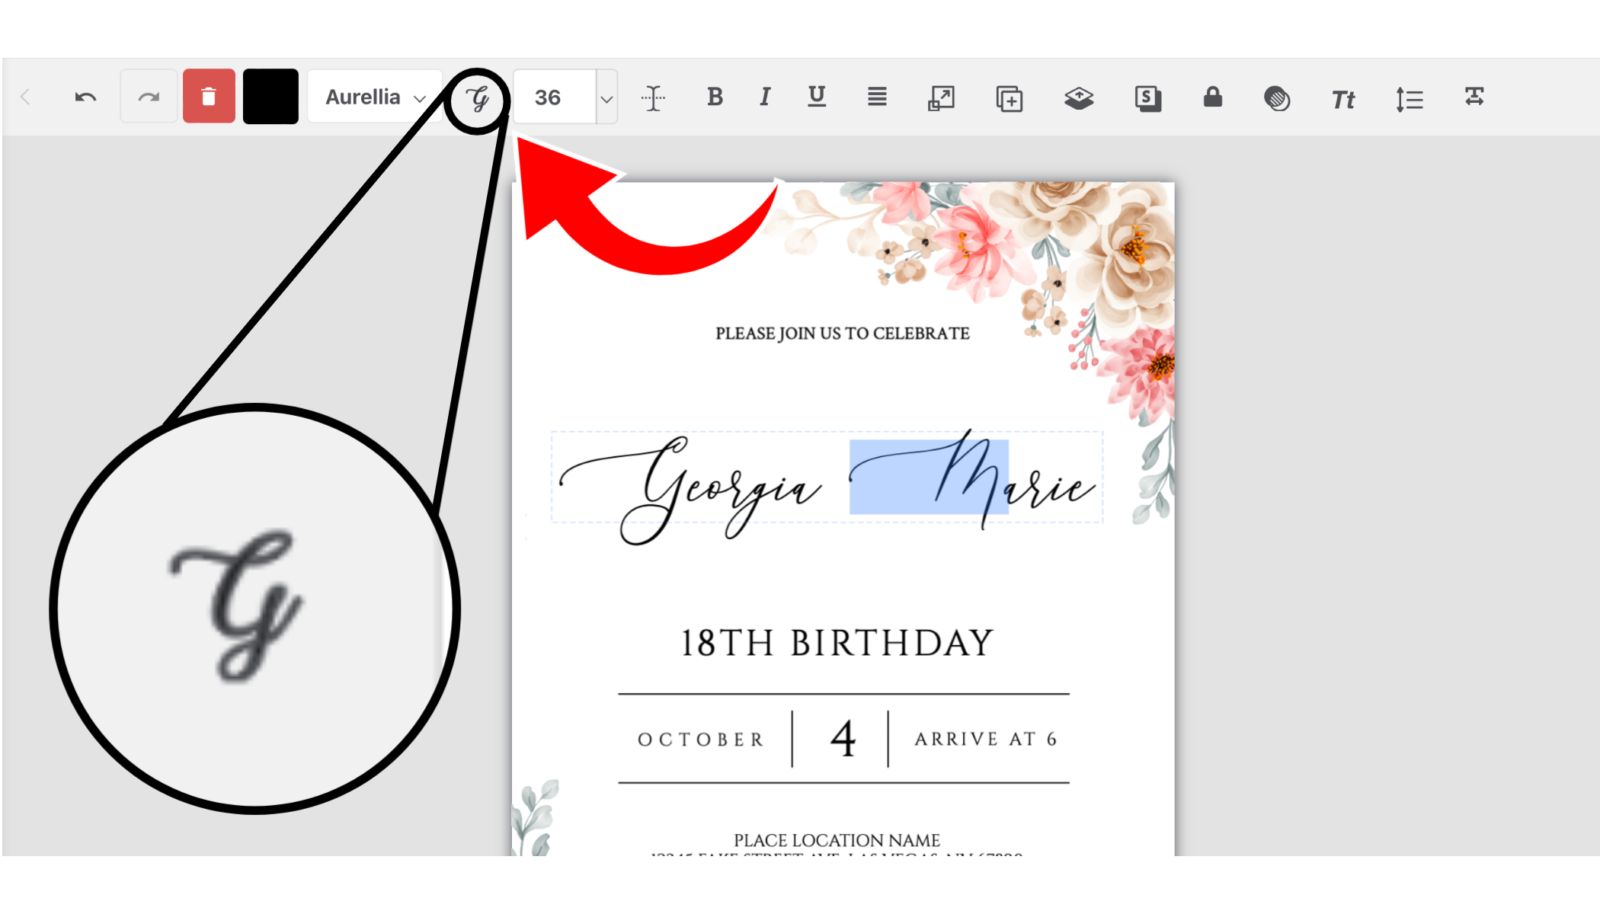
Select Your Text: Start by clicking on the text box where you want to use a font glyph.
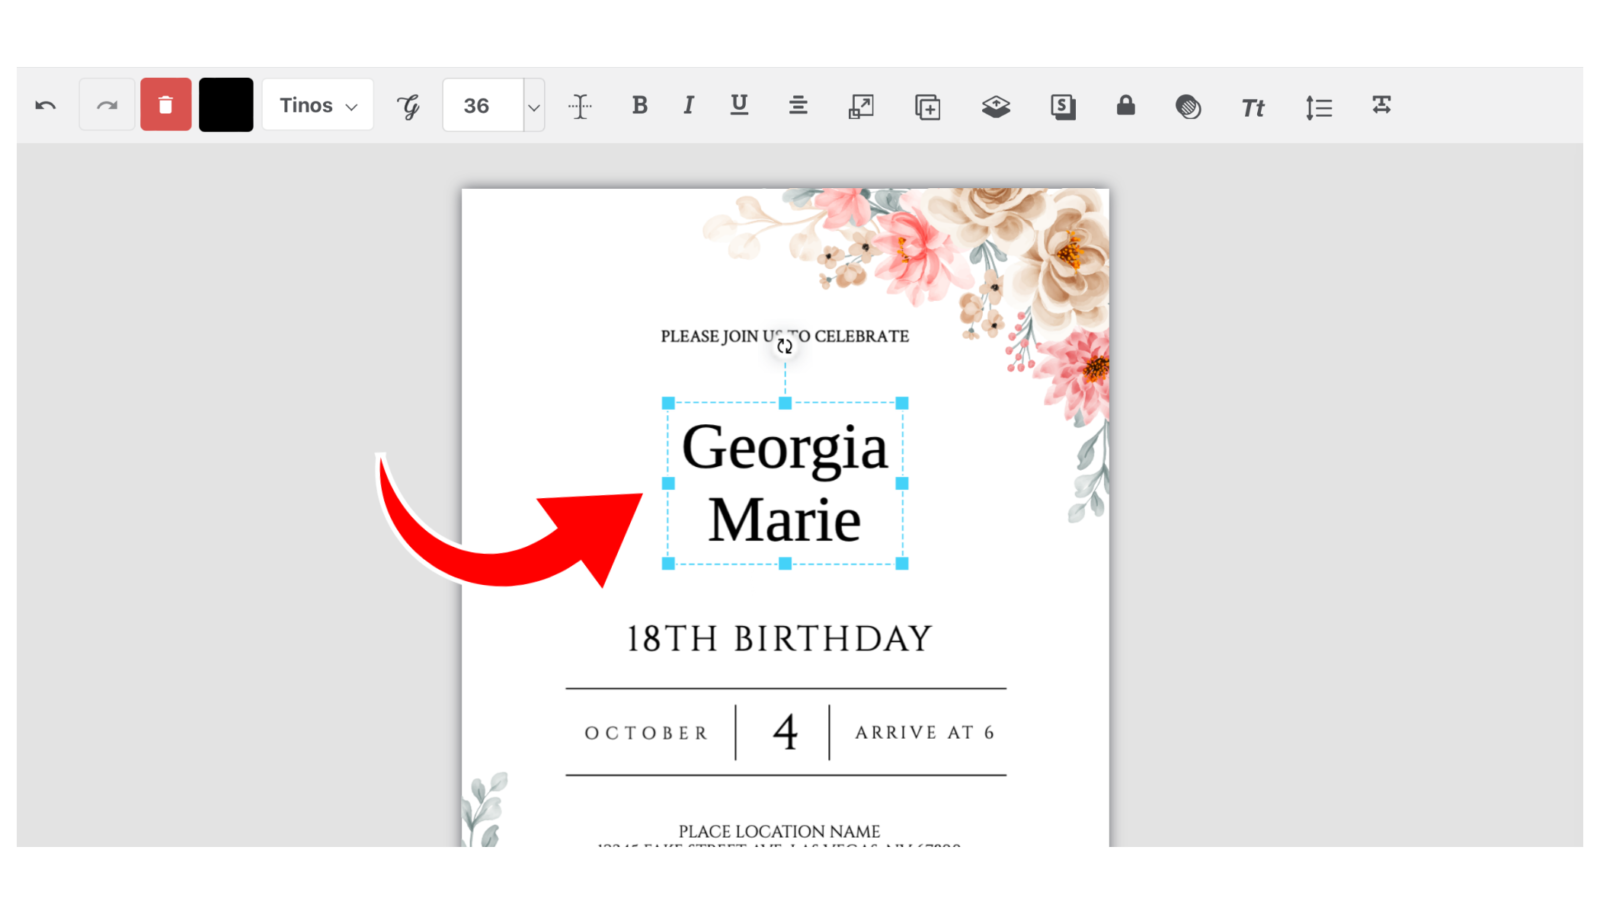
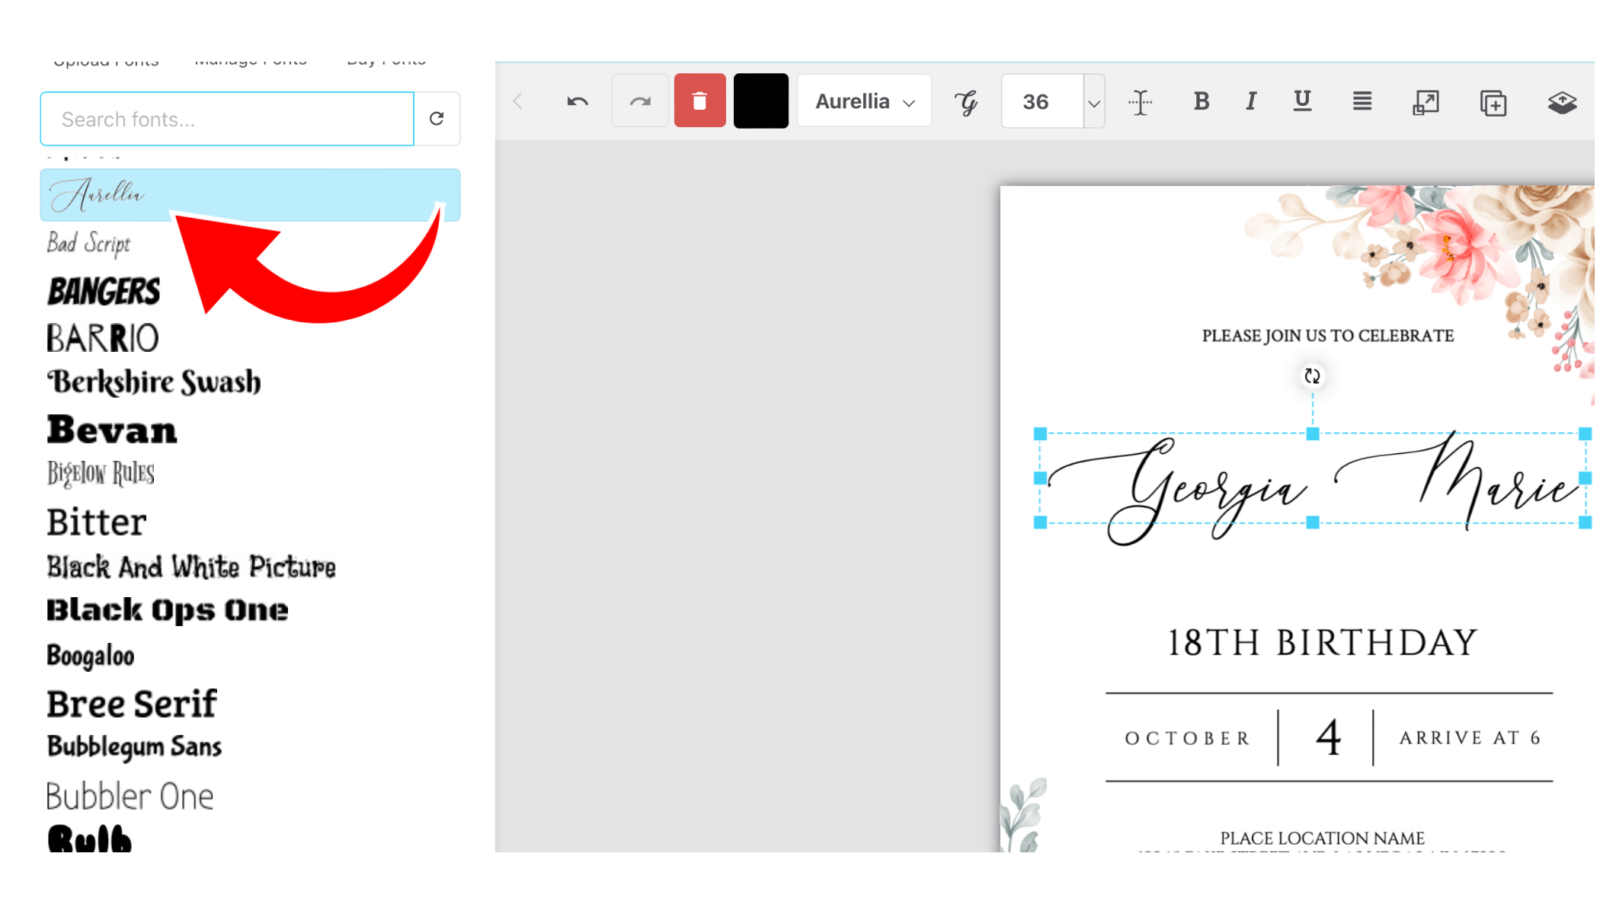
Select Your Font: Choose the font you want to use, if you haven’t already done so.
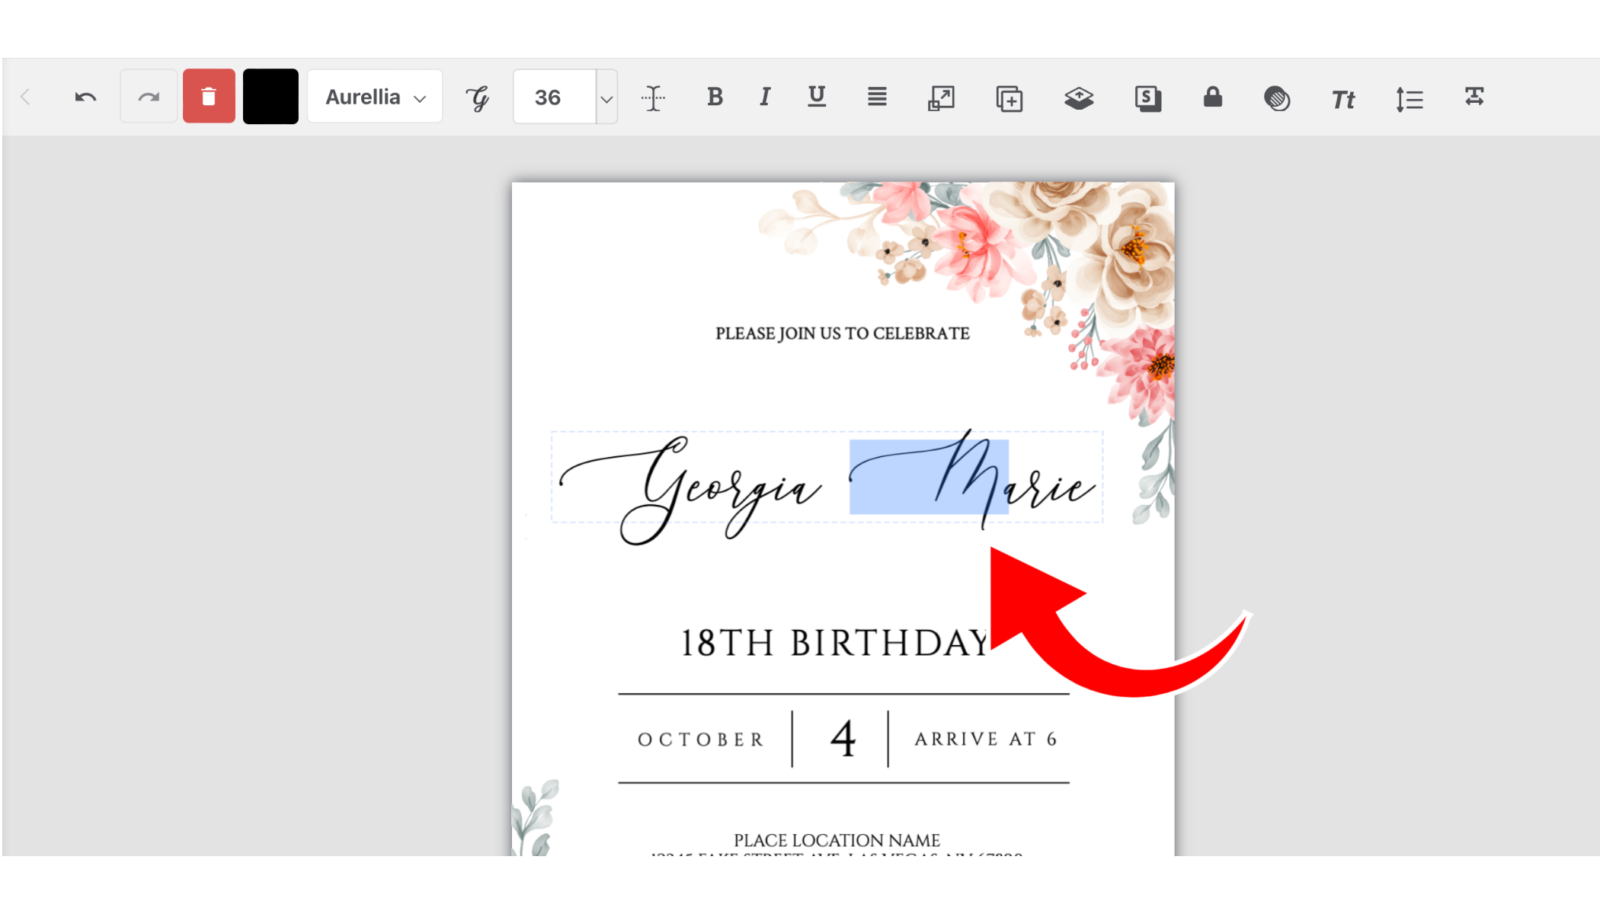
Highlight the Letter: Click and highlight either the beginning letter or the last letter that you want to stylize.
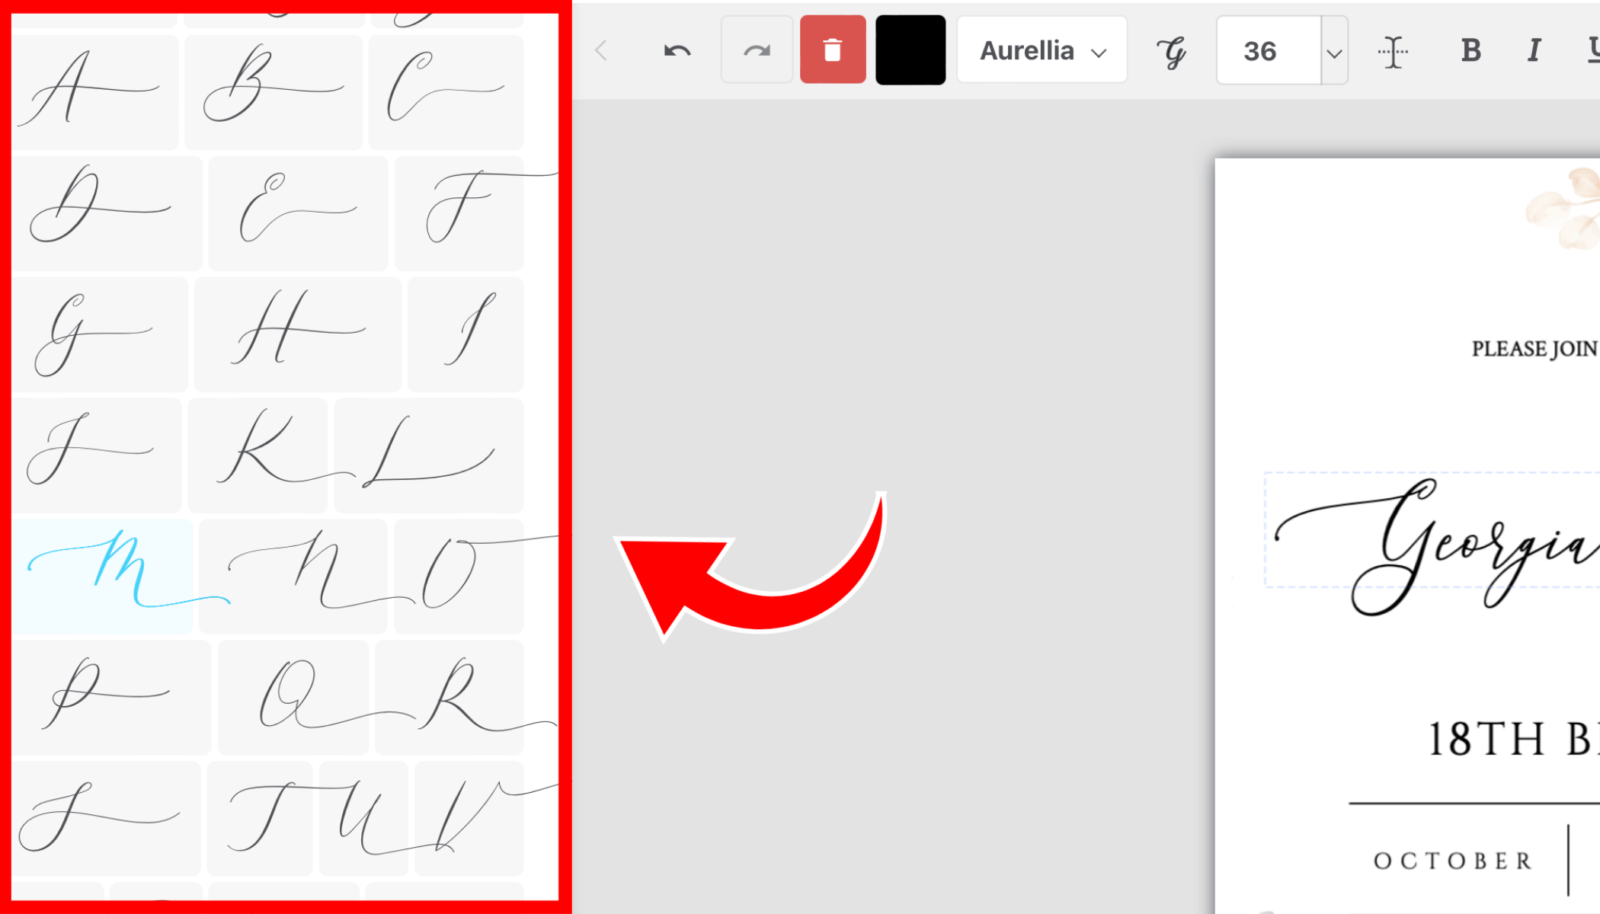
Open the Glyph Panel: Look for the Glyph Panel button in the text editing toolbar. A new window will pop up, showing all the font glyphs available for your chosen font.
Choose Your Glyph: Browse through the options and click on the font glyph you want to use. It will instantly replace the selected character in your text box.
Get Creative: Don’t be shy—mix and match different font glyphs to create a design that’s uniquely yours.
Tips for Getting the Most Out of This Feature
- Try Different Fonts: Not all fonts offer the same variety of glyphs. By exploring different fonts, you can find some hidden gems that really elevate your design.
- Combine Glyphs for a Unique Look: Sometimes, combining multiple font glyphs within a single word or phrase can create a style that’s all your own.
- Use Glyphs Sparingly: While font glyphs can enhance your design, too many can overwhelm it. Aim for balance, using glyphs to add value without cluttering your work.
Wrapping It Up
The font glyph panel in Templett is more than just a tool; it’s a game-changer for your designs. By unlocking these hidden characters and symbols, you can take your typography—and your overall design—to new heights. So why not give it a try? Dive into the font glyph panel and see how these little extras can make a big difference in your next project.